Step 01
Extracting a style from Moebius
I started with a mood board of Moebius drawings. I've always loved how Jean Giraud draws, with a clean line and the same care for a machine as for a mountain.
In Figma Weave I built a flow that read the mood board and wrote the style down in plain words. My imagine skill then combined that style with the idea of each essay to write the image prompts.
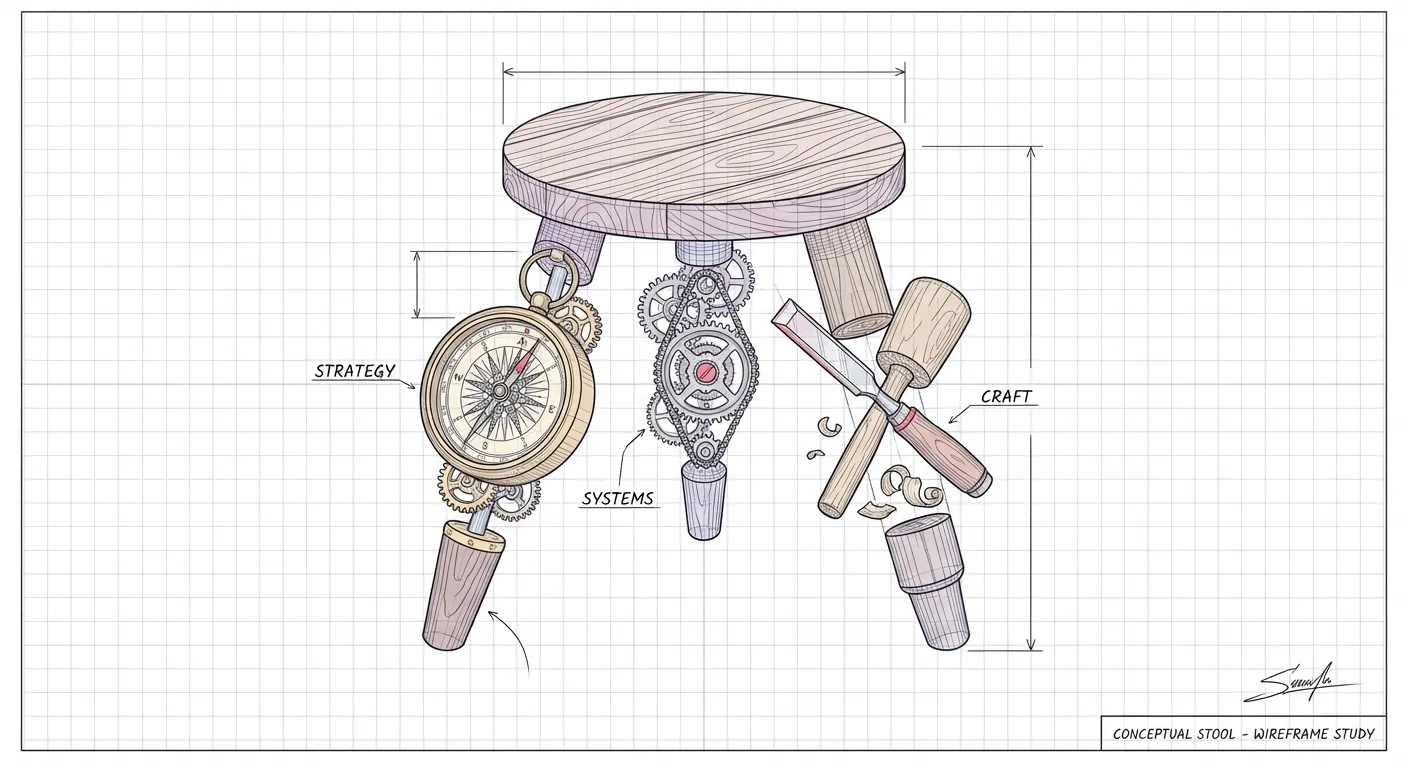
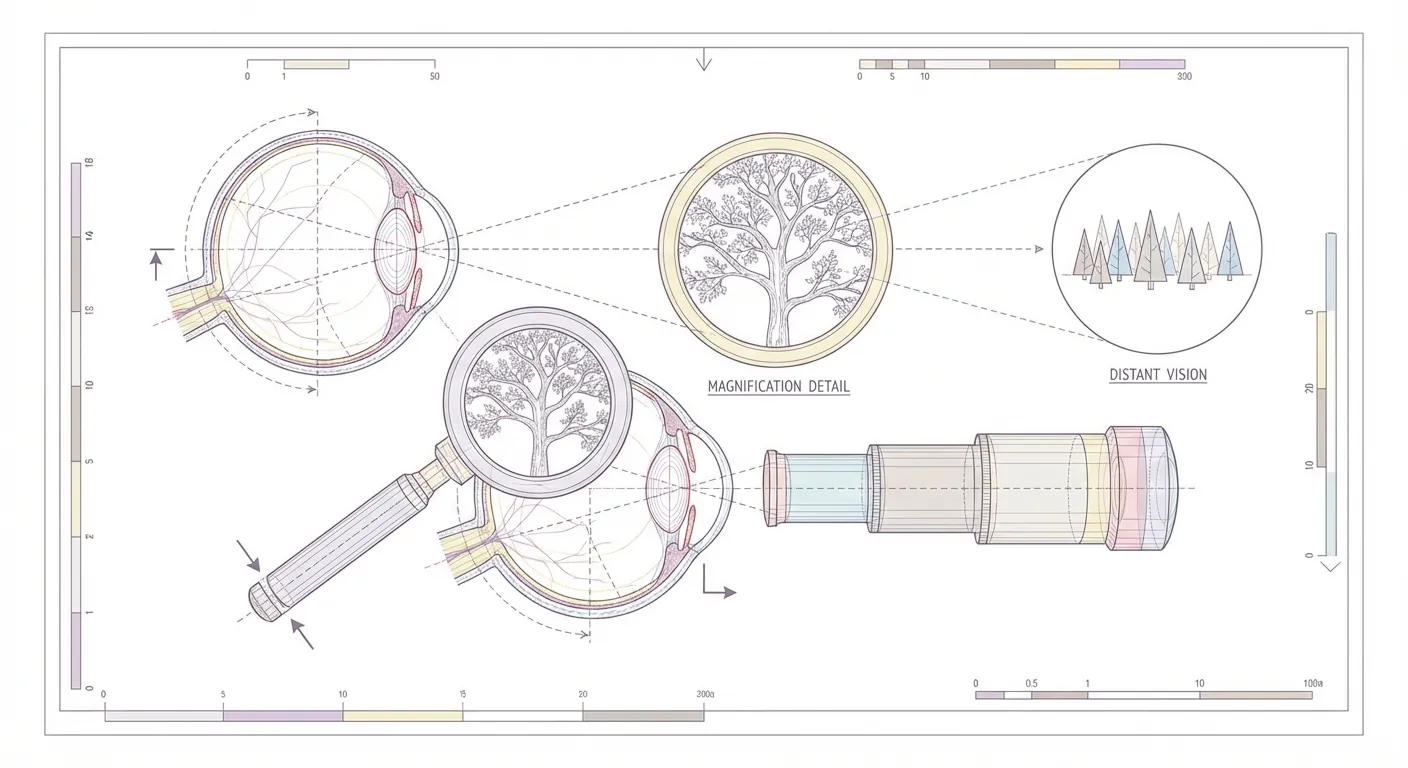
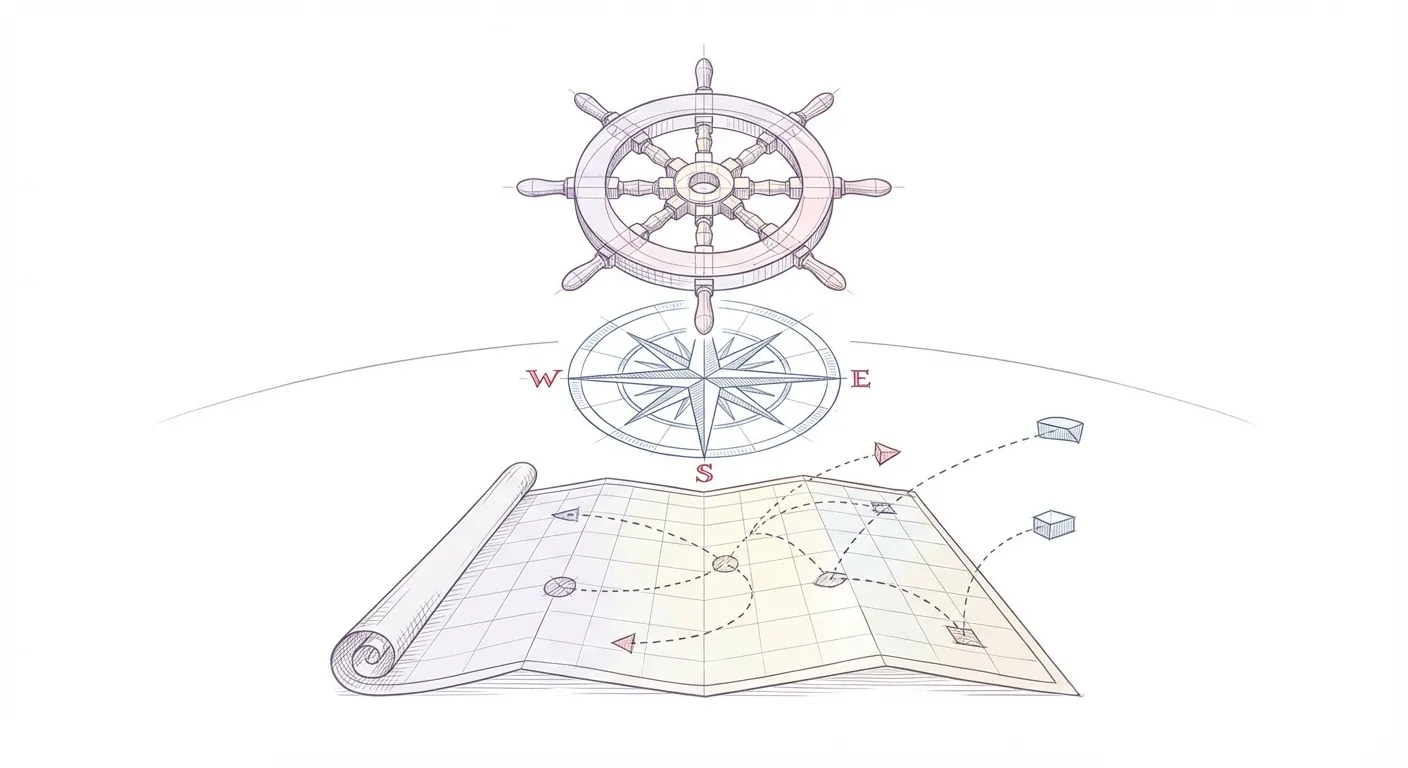
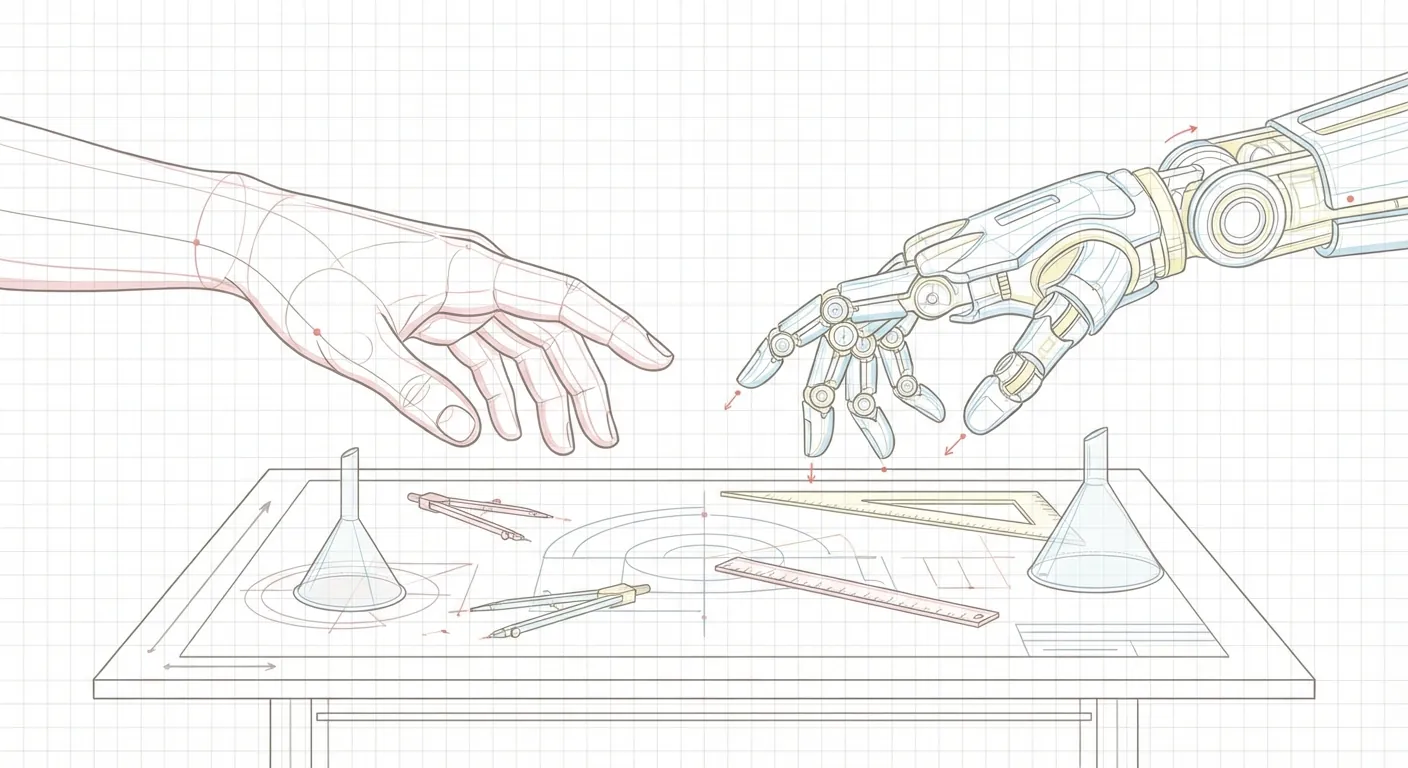
The first drawings came out looking like engineering drawings, with dimension lines, labeled callouts and a title block. Nine months later, the line drawings on the site use the same marks.
Hover a node to see what it does.
Step 02
Better models, more variety
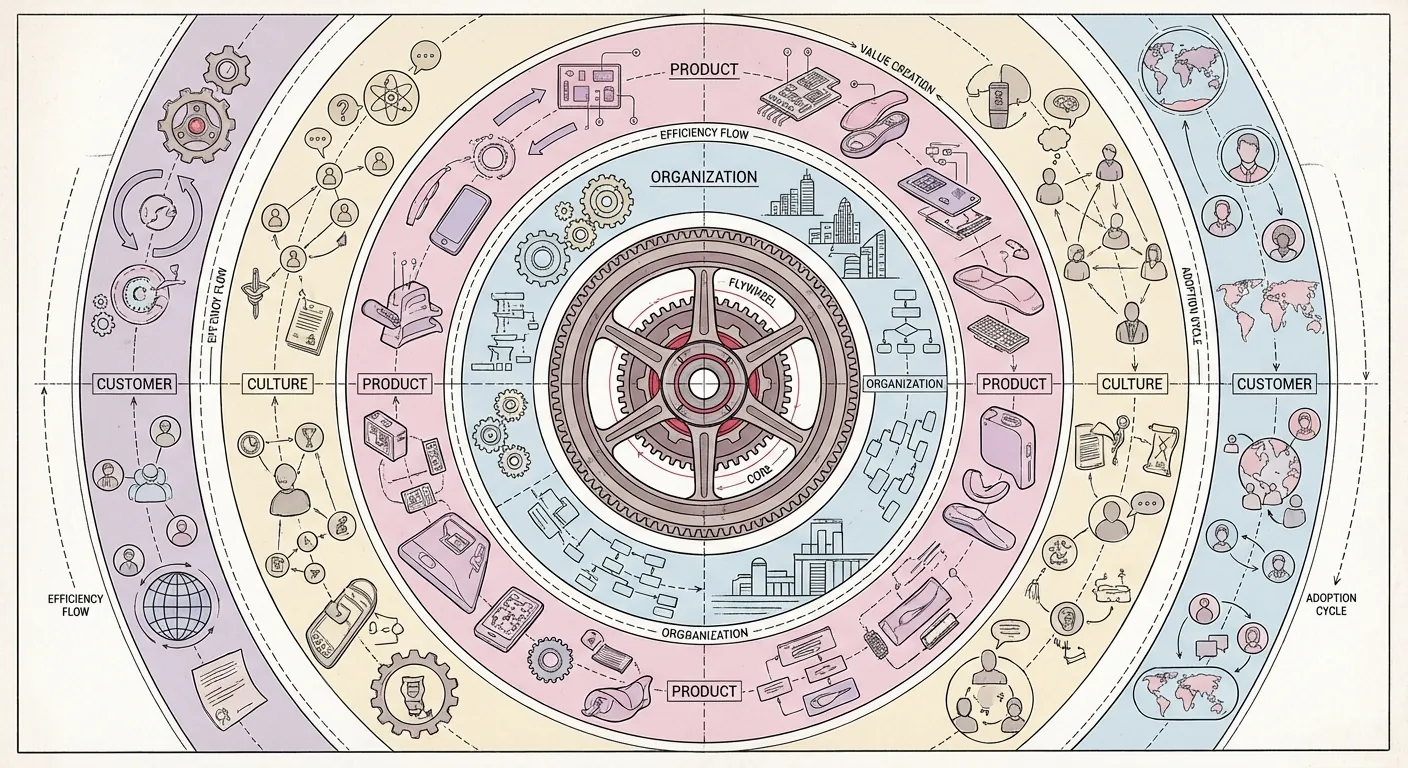
As the image models got better, I remade the illustrations with them. Each pass looked more accurate and more finished.
The set still didn't hang together. Every essay had its own look, and a style prompt run across all of them could swing too far. One pass asked for neo-futurism and bold signage and covered a print shop wall in slogans.
Drag the slider to see one illustration across five versions.
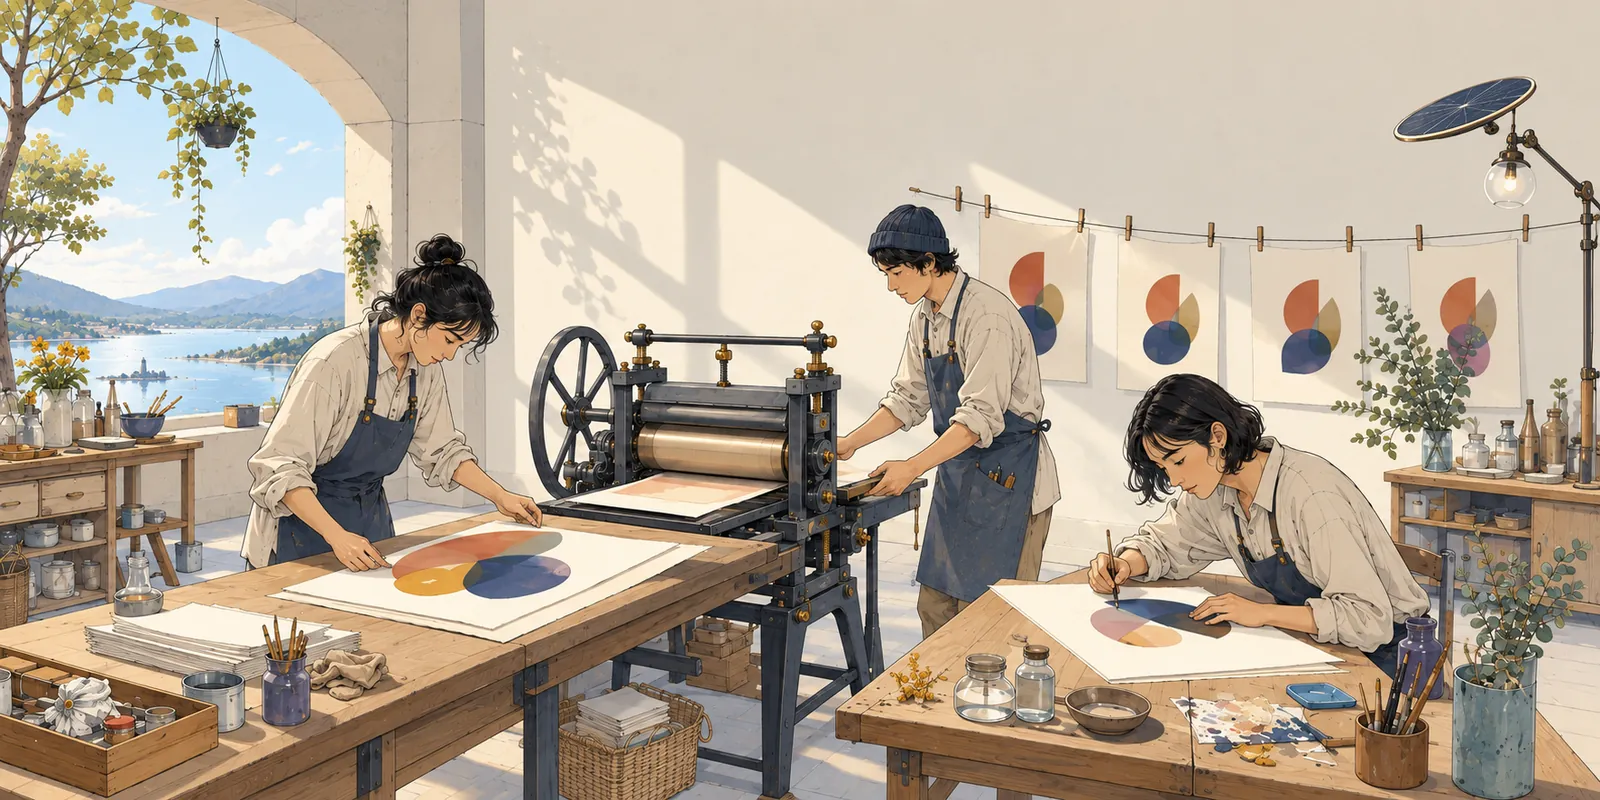
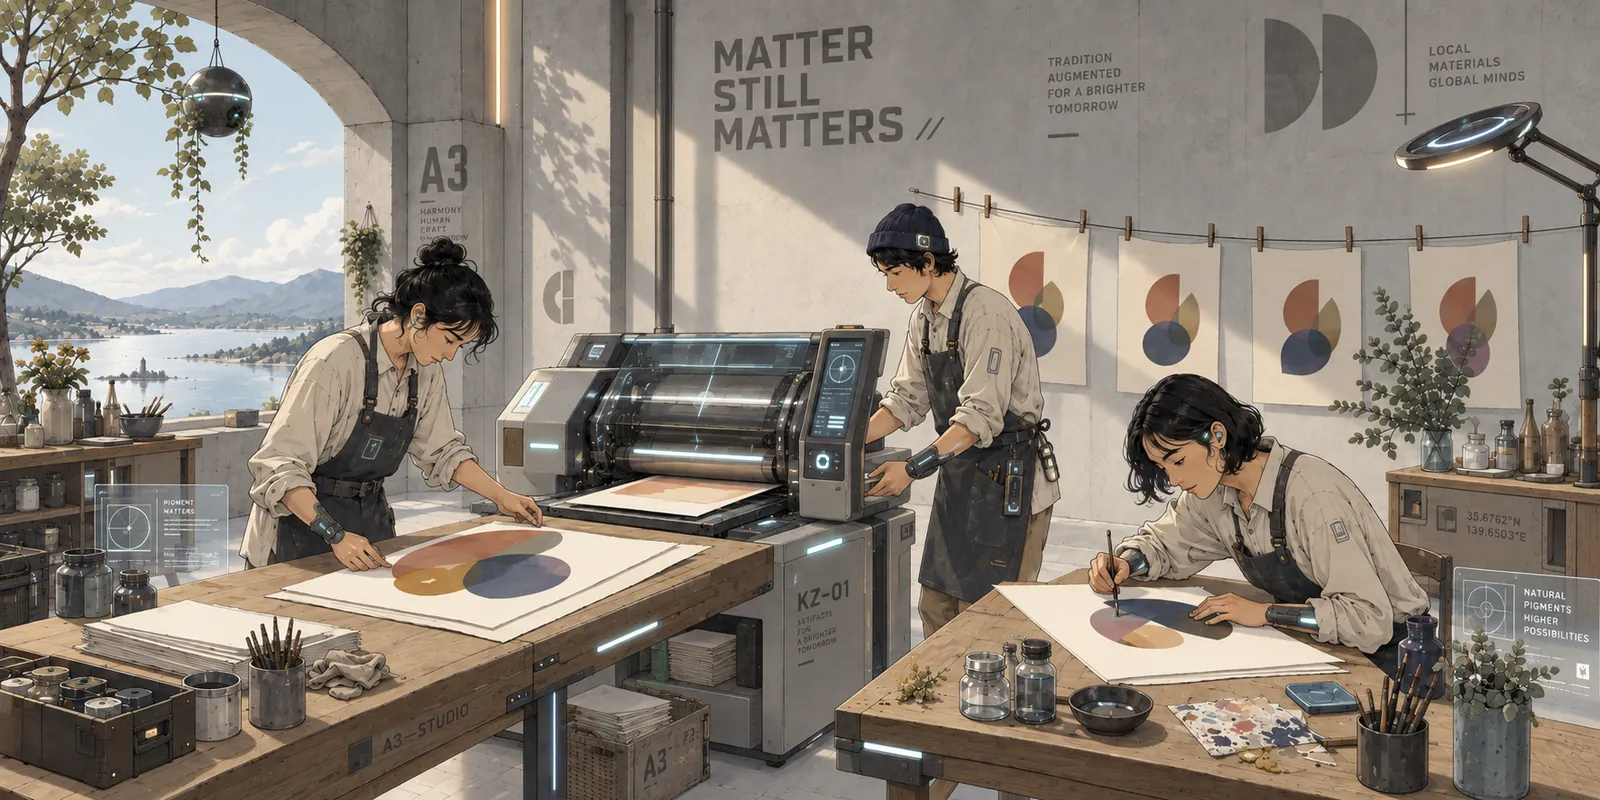
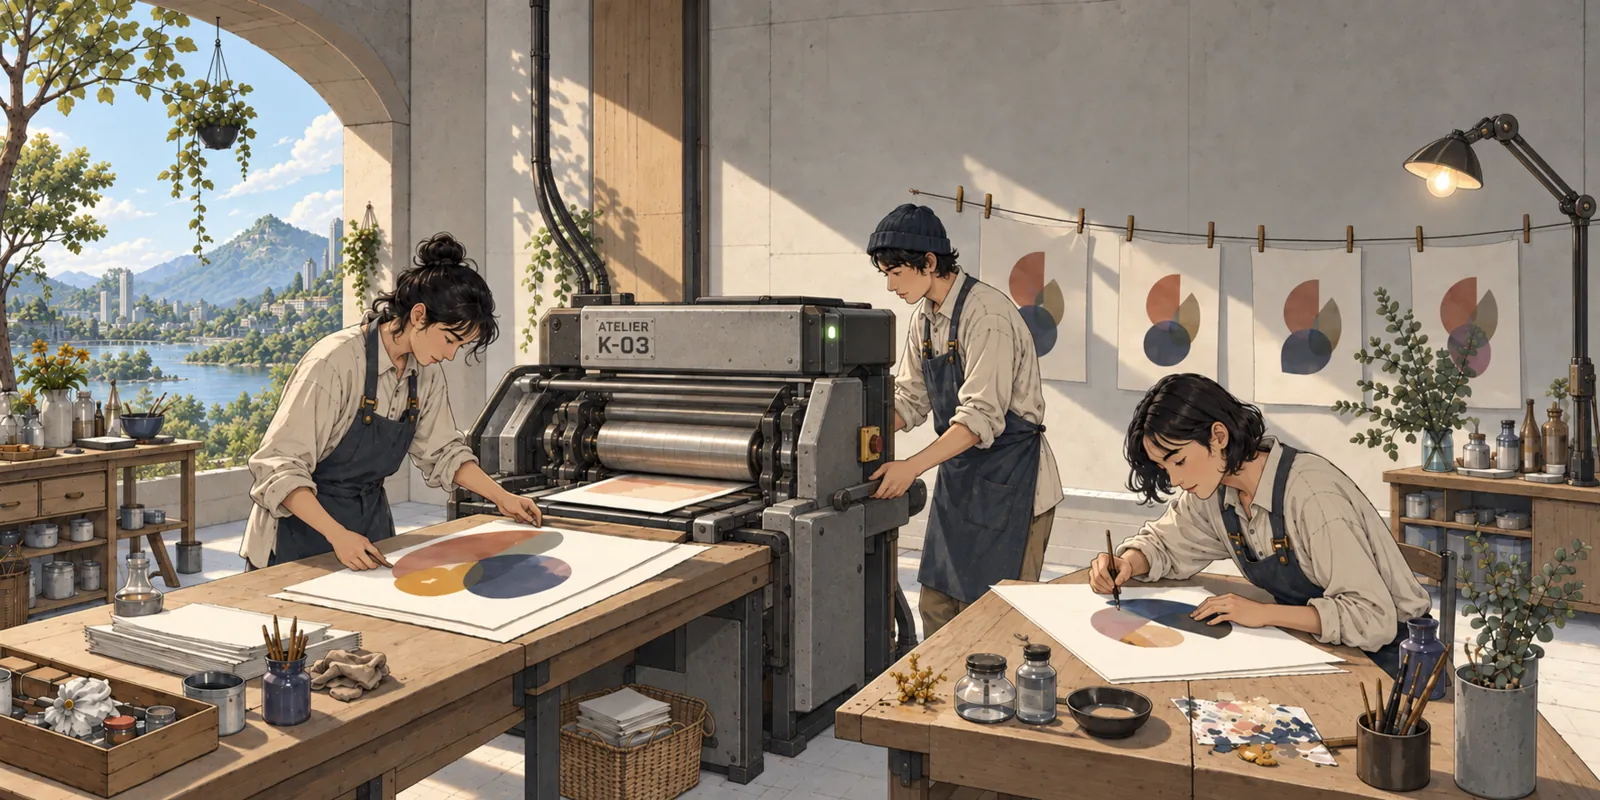
01 / Blueprint · Jan 26
A Moebius-style technical drawing on graph paper, with dimension lines and a title block.
Step 03
Pictures for every page
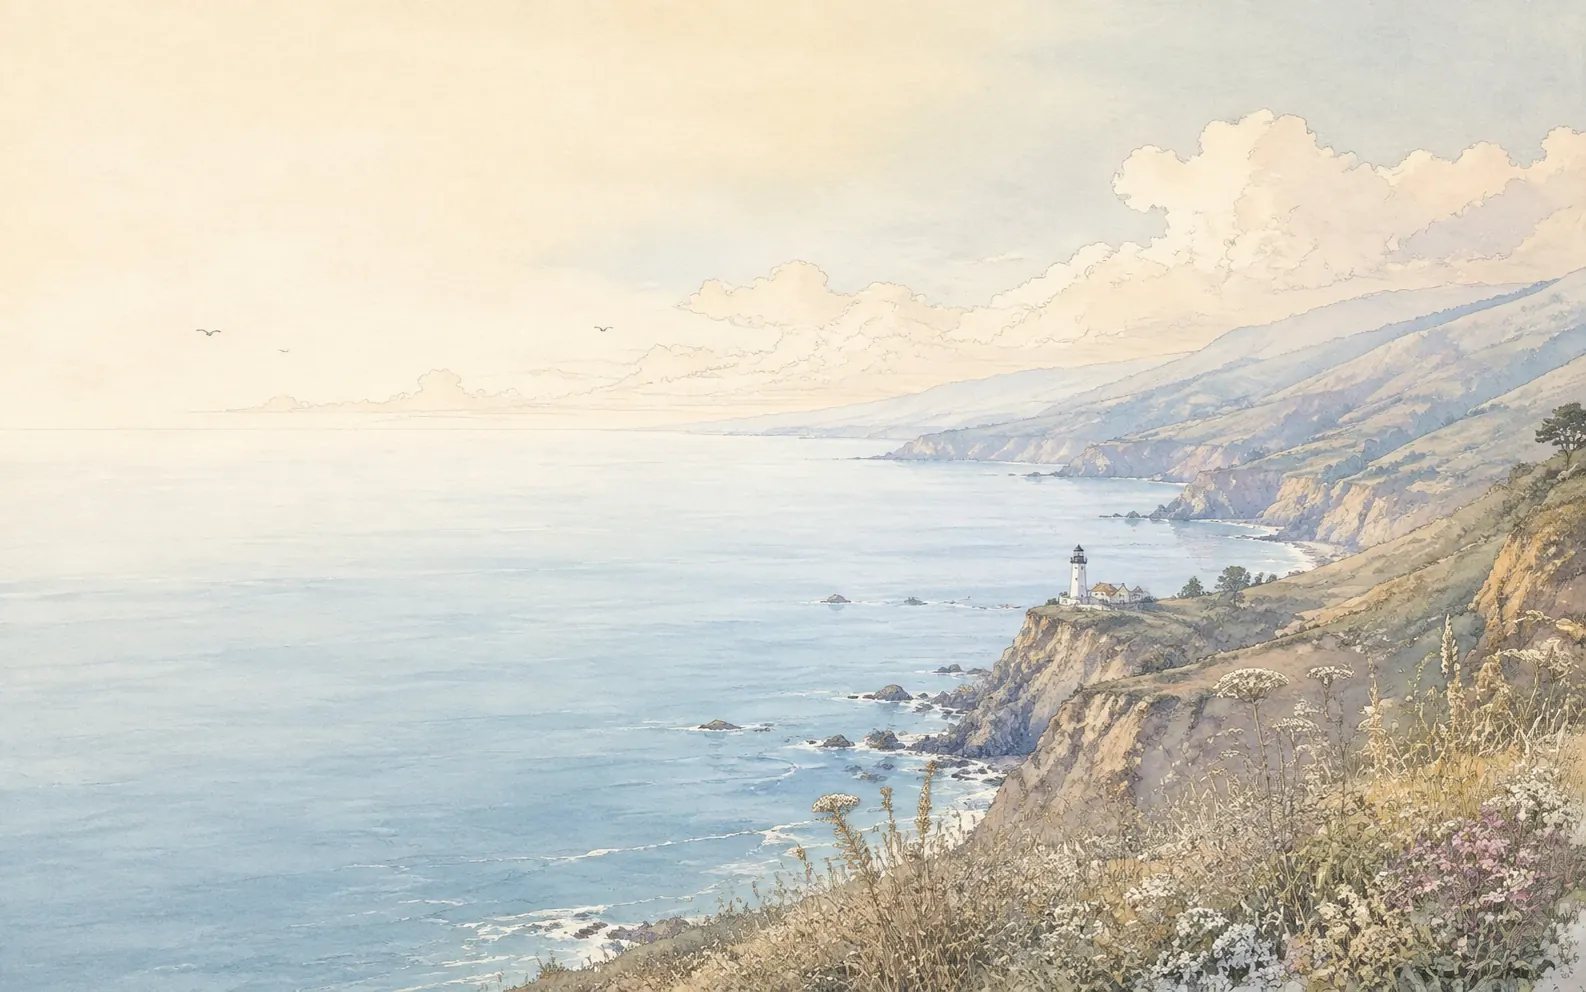
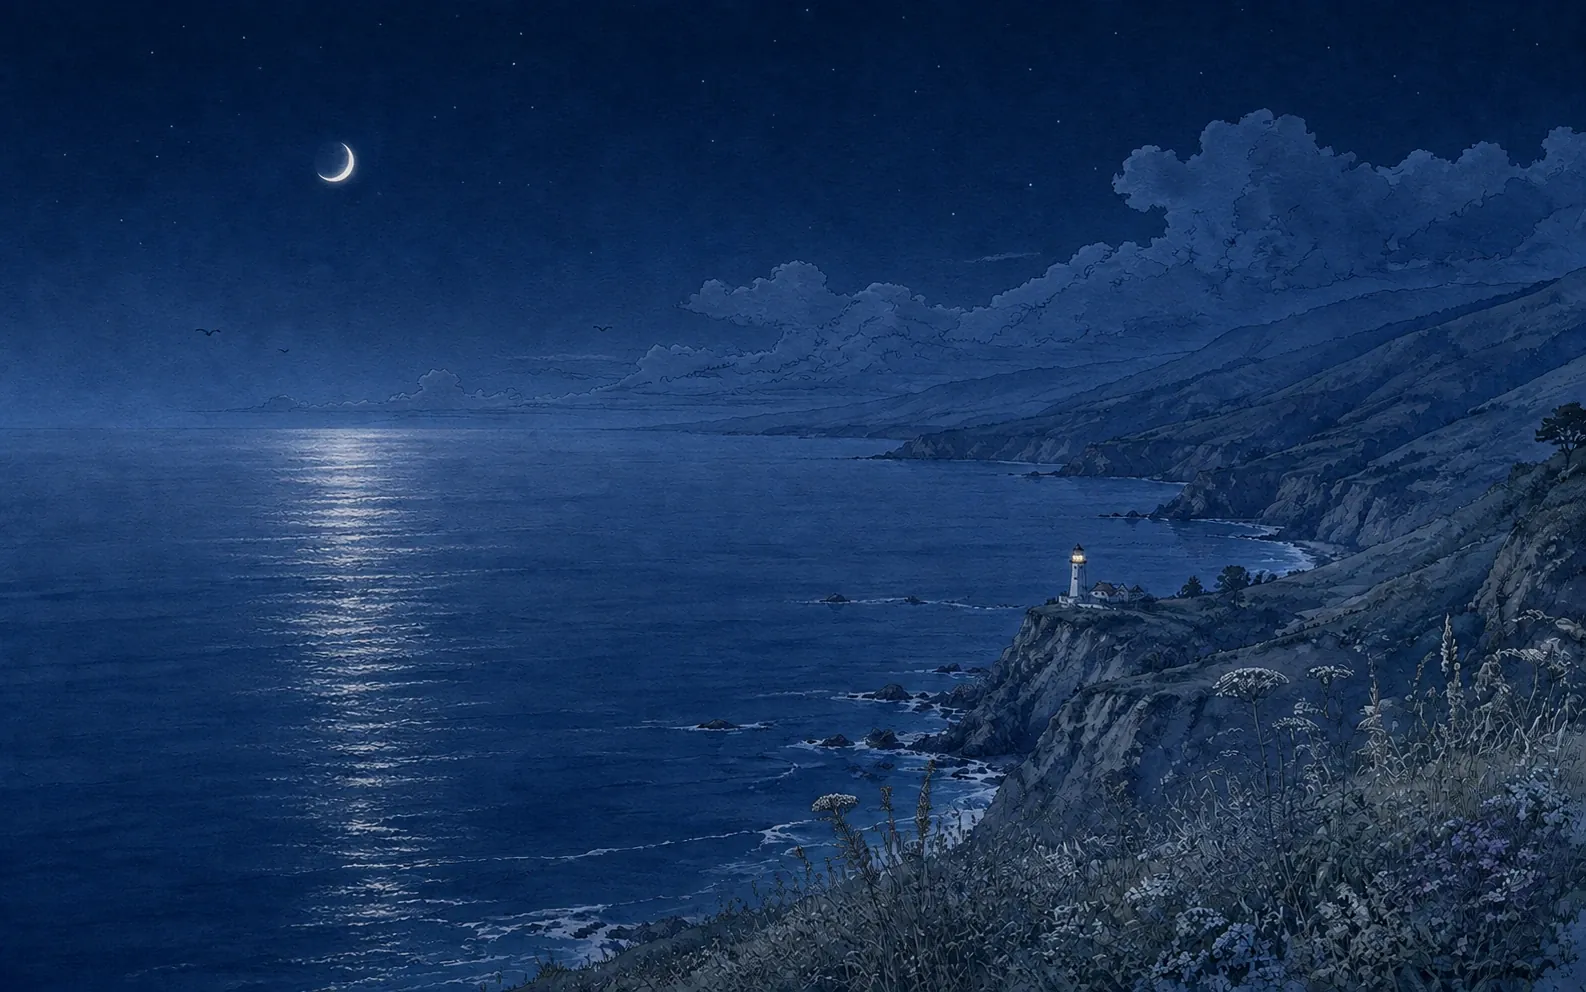
Then I wanted pictures for every page of the site, too. The homepage became a full-screen painting of the coast behind the text, and About, Writing, Speaking and Projects each got a scene of their own.
That added a lot more images to keep consistent.
Step 04
Building the Illustration Studio
With that many images I needed a better way to manage the prompts behind them. So I built the Illustration Studio, a local tool where I can write prompts, comment on images, and generate and compare options for every article and page in one place.
Over time it grew a video view, a parallax editor and a library for the world model. Click through its views.
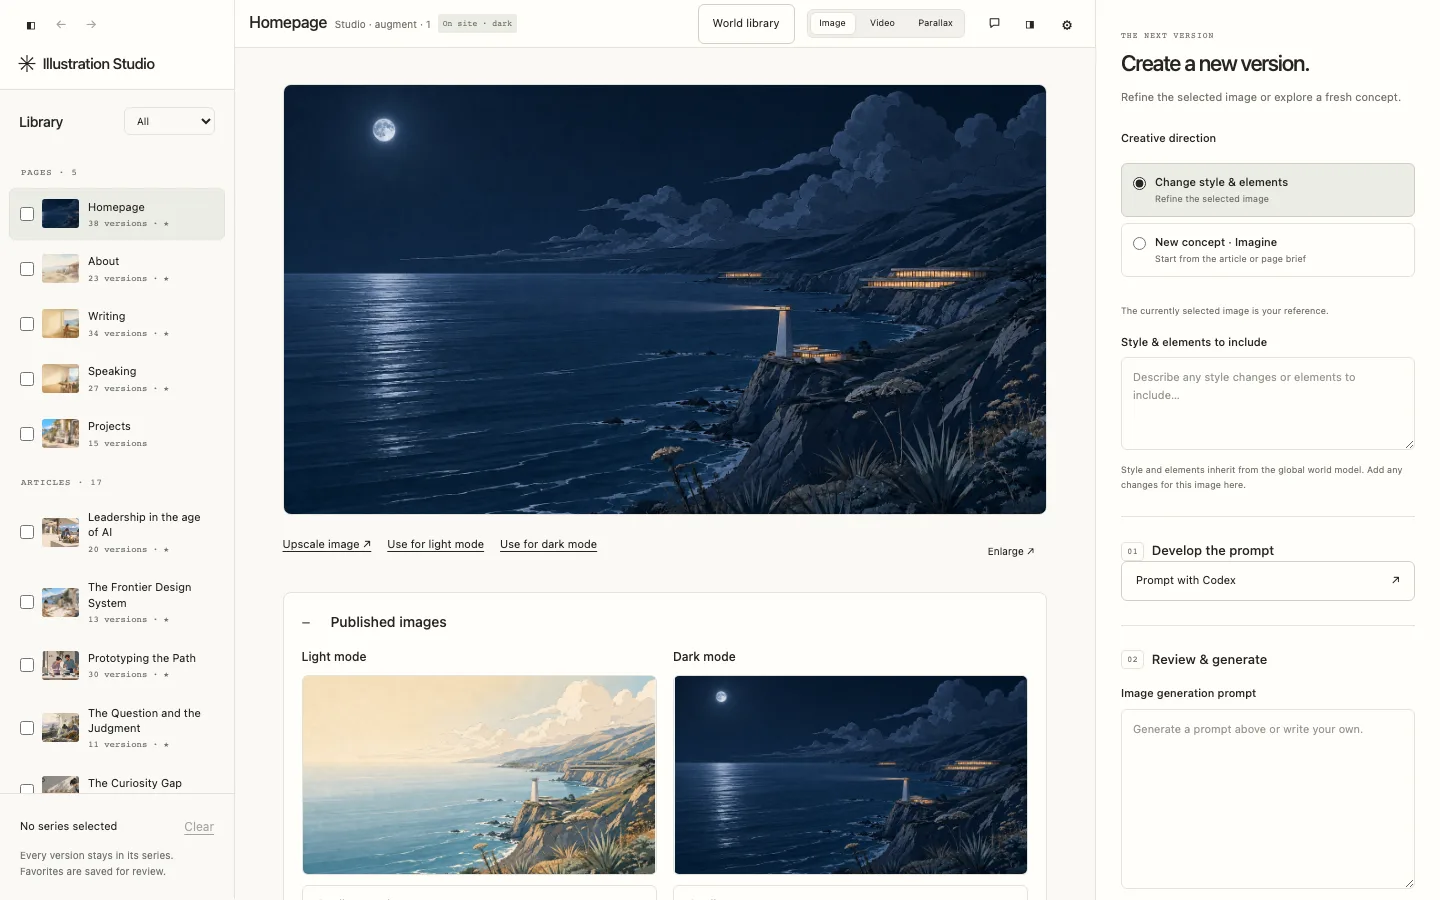
Every version of every page and article in one library, with a prompt panel for the next version.
Step 05
Treating the images as a set
The studio made it fast to explore. I could try a direction on one image, compare versions side by side and keep the one I liked.
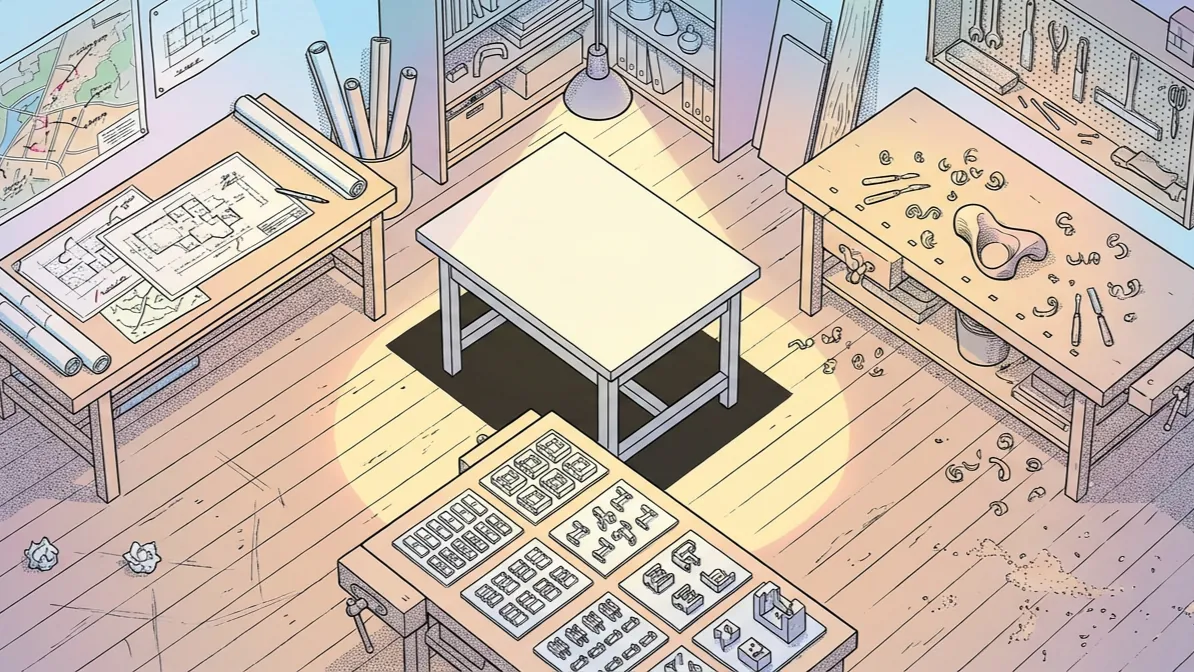
It also changed how I thought about the work. Once I could see every page and article together, I started treating the illustrations as one system with a shared style.
The homepage lighthouse shows that process. Most prompts kept the previous image and changed one thing. Step through the versions to see what I asked for and the prompt behind each one.
The ask · Sep 5
“almost like visualizing a beautiful vista using the style of the artwork that's published for my articles, and every time you load the site, there's a new vista”
The prompt · image_gen · pastel-clear-line
Create one sublime, breathtaking panoramic Pacific ocean vista viewed from an elevated coastal meadow … A very small, exquisitely drawn lighthouse stands on a right-side bluff … The leftmost 40% needs tranquil pale low-detail sky and ocean, enough visual quiet for dark website copy laid over it.
Step 06
Day and night versions
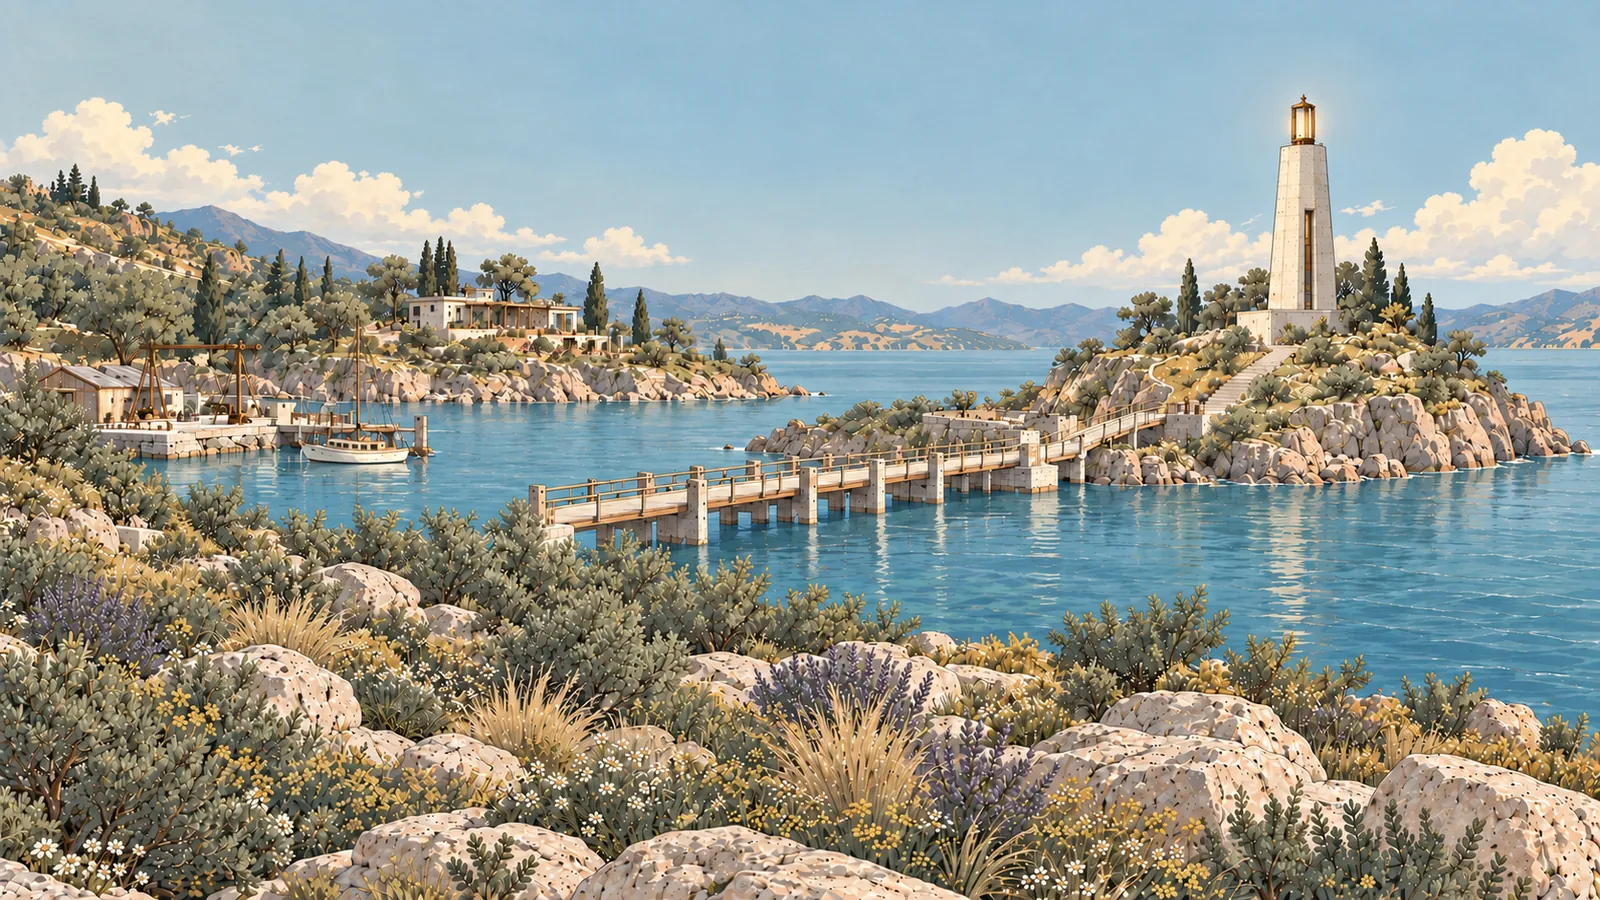
With every image in one place, I added day and night versions to the studio. Each night image keeps the composition of the day one and changes the light.
The site switches between them with its theme, which follows sunrise and sunset in San Francisco. Drag across the painting to compare them.
 DayNight
Step 07
Video through Figma Weave
Having day and night pairs gave me an idea for video. I built a skill that sends an image from the studio to a Figma Weave workflow through its MCP, runs Google's Veo model, and brings the clip back into the studio.
Using the same image as the first and last frame makes the clip loop. This part worked well.
Step 08
Parallax that didn't work
Next I wanted the images to feel a little interactive, so I tried parallax. I explored a lot of approaches and built some of them into the studio, and none of them worked well.
Each one guessed at layers in its own way and broke somewhere. In one version the lighthouse split in half. In another, the rocks slid across water that stayed still. The small drawings show how each approach modeled depth, with far at the top and near at the bottom.
01 · Sep 5
Drift
Three flat layers (sky, hills and foreground), each sliding at its own speed.
“there are at least three different levels of parallax for each of the artwork”
Retired02 · Sep 6
Physics coast
A Three.js simulation with moving water, physical clouds and plants you could drag.
“I don't like the result. let's clean up this worktree and remove the code from the project.”
Deleted03 · Sep 6
Image to geometry
Blender rebuilds the scene as meshes for Three.js.
“delete all files associated with this thread.”
Deleted04 · Sep 6
Video to parallax
A Seedance video, and later a 4K Veo clip, cut into five depth layers. I turned it into a skill.
“nice! This looks perfect.”
Kept05 · Sep 15
Segmentation cut-outs
Still images cut into layers by depth, with the gaps painted in.
“Notice how the lighthouse in the home image is broken. This cannot happen.”
Retired06 · Sep 20
Plate-native generation
Ask the image model for the layers up front, then let agents isolate objects.
“Parallax of any type is no longer necessary.”
Retired07 · Oct 3
Diorama
The painting projected onto a 3D model of the harbor, with sprites and zoomable detail.
“The system has been ineffective in determining objects to isolate.”
Retired
Step 09
Building a world
I still wanted the images to improve in a more consistent way, so I started looking into what goes into building a world. That led me to how Pixar manages assets across its films.
My world is a California of the future, where modern architecture blends into nature and people spend their time making things. It has workshop tools, architecture with a touch of Carlo Scarpa, Northern California native plants, landscapes from different biomes, household objects and a cast of characters.
The tools blend Braun and Teenage Engineering. I built a small research tool that gathered reference images of their products and pulled style rules out of them.
All of it lives in a world model I can add to and update. Each change flows into the prompt the studio uses for the page illustrations, so the pieces work as one system. The essay illustrations are next.
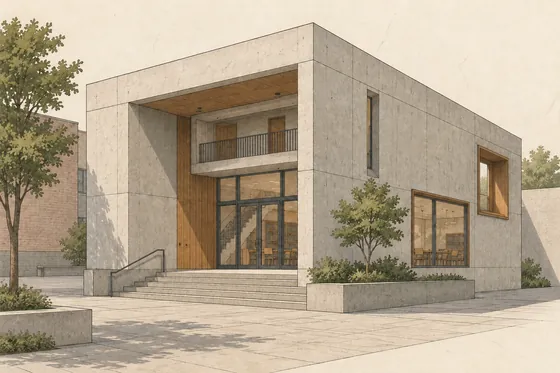
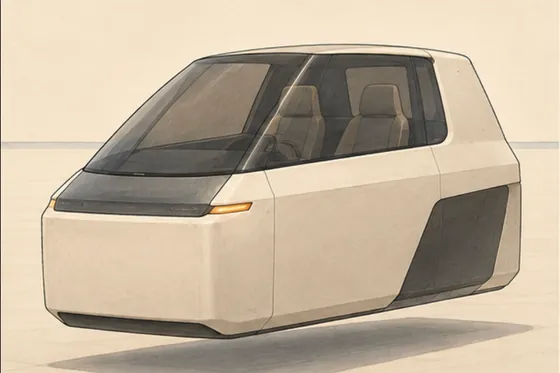
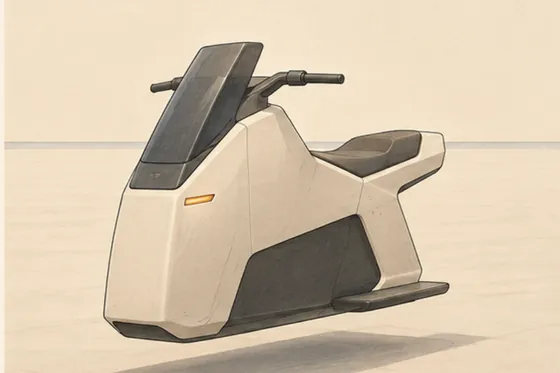
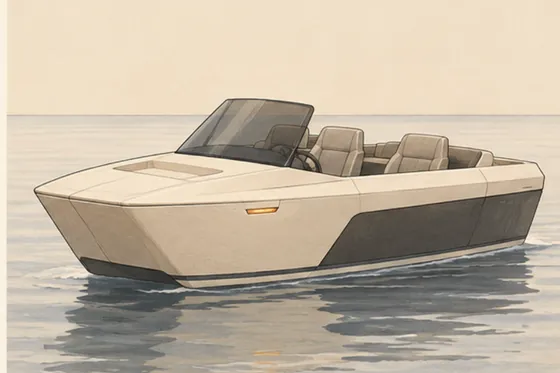
The library has 183 reference drawings. These are some of them. Pick a category to see the correction behind its rules.
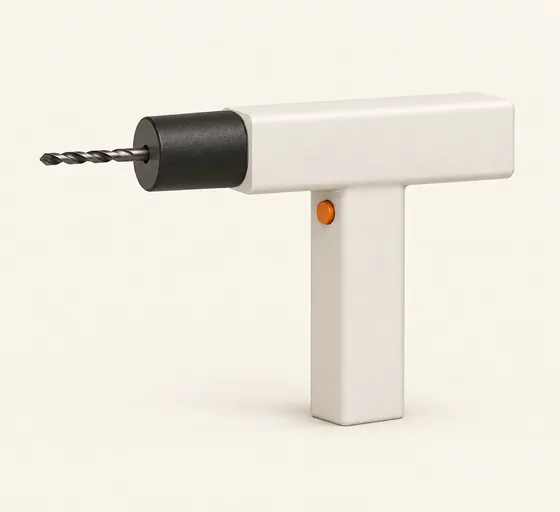
TL-01
Power drill
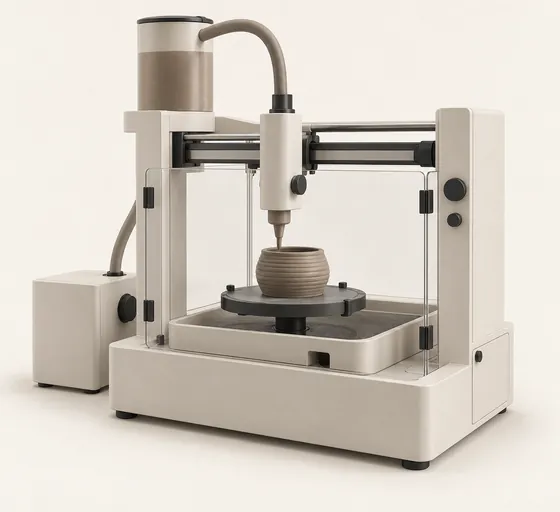
TL-02
Ceramic printer
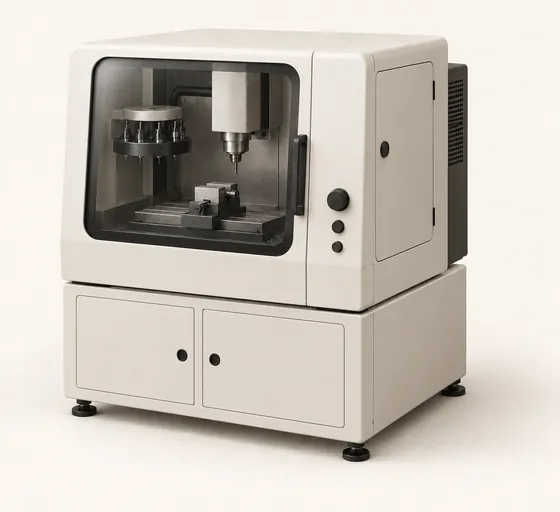
TL-03
CNC mill
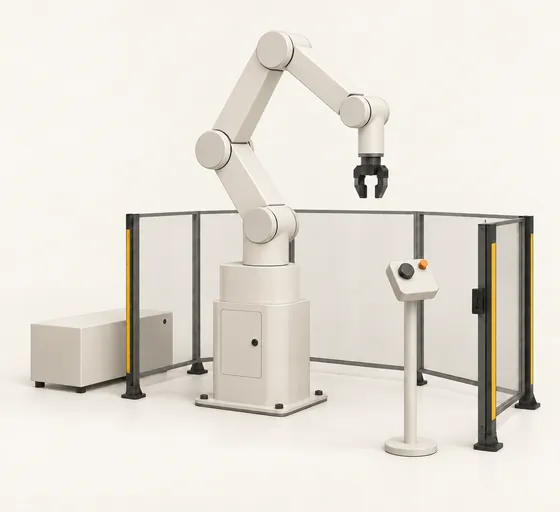
TL-04
Robot arm
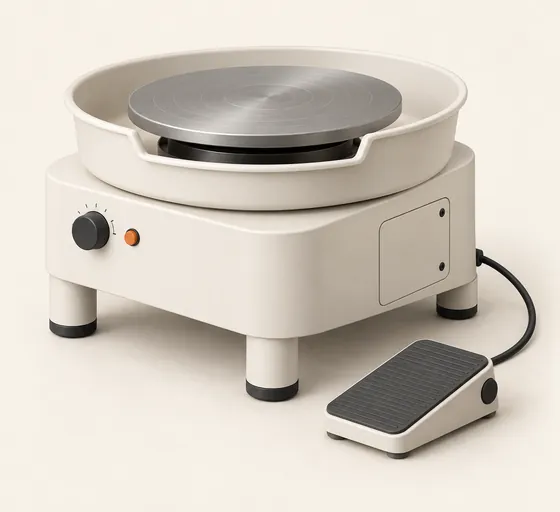
TL-05
Pottery wheel
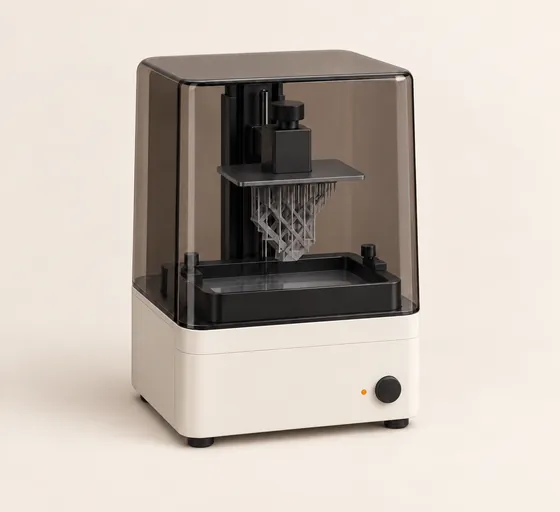
TL-06
Resin printer
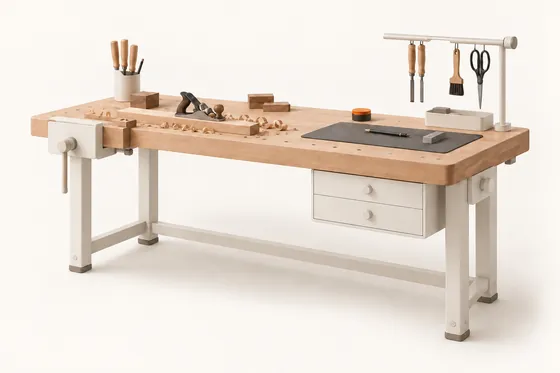
TL-07
Workbench
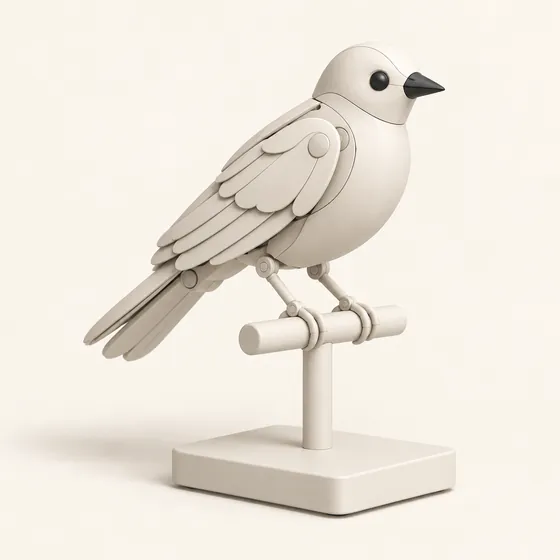
TL-08
Mechanical bird
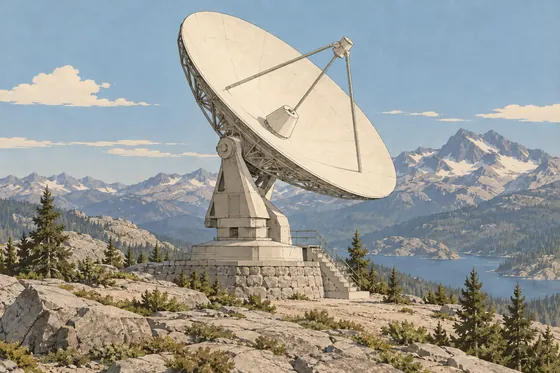
AR-01
Observation dish
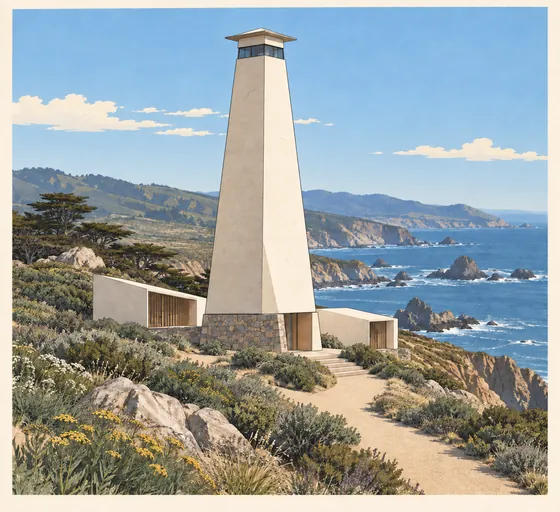
AR-02
Coastal beacon
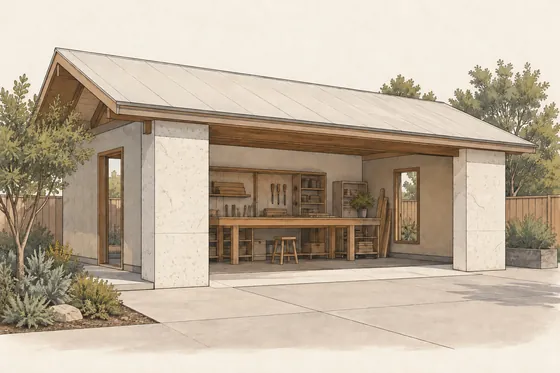
AR-03
Workshop pavilion
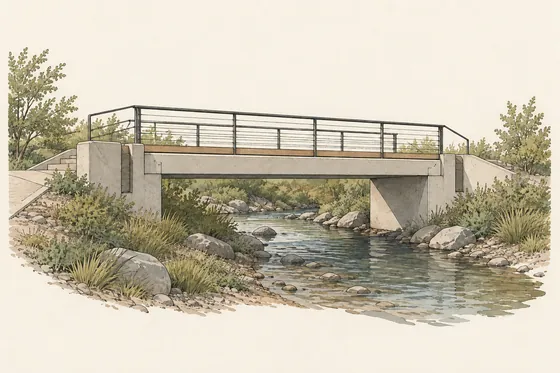
AR-04
Pedestrian bridge
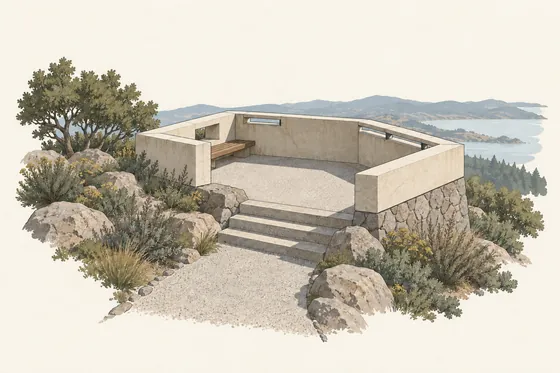
AR-05
Observation terrace
AR-06
Learning hall
MB-01
City car
MB-02
Hover motorcycle
MB-03
Passenger launch
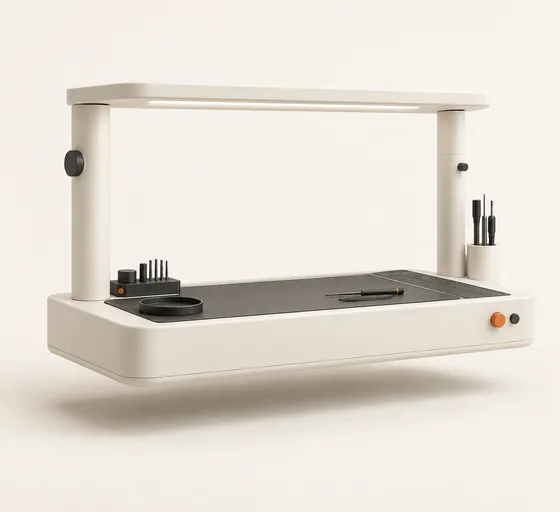
MB-04
Hover platform
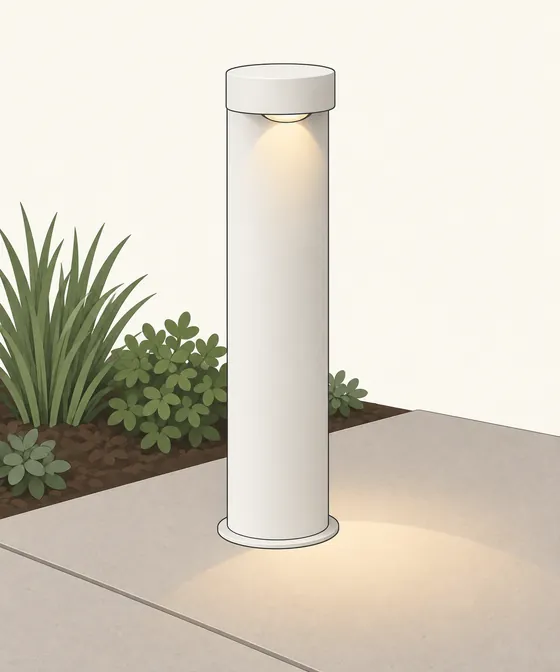
LT-01
Bollard
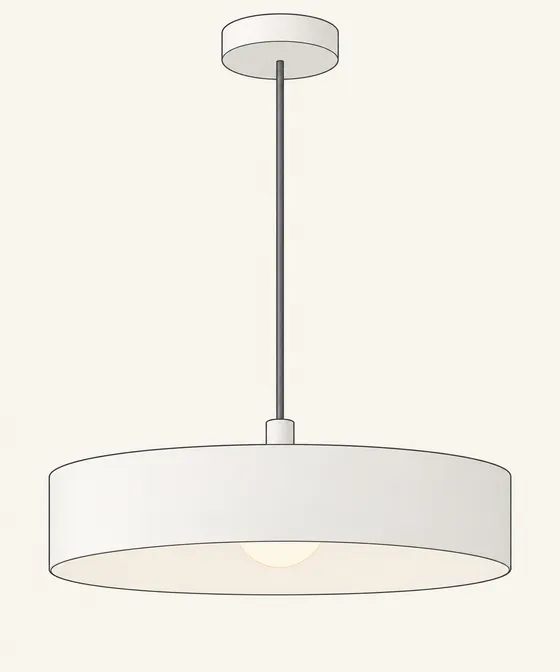
LT-02
Pendant
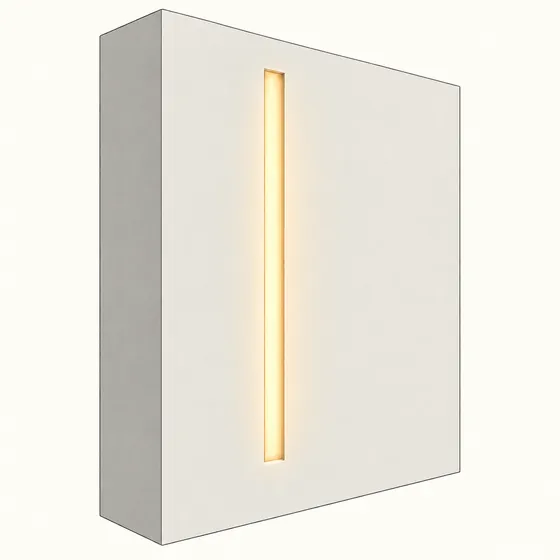
LT-03
Wall reveal
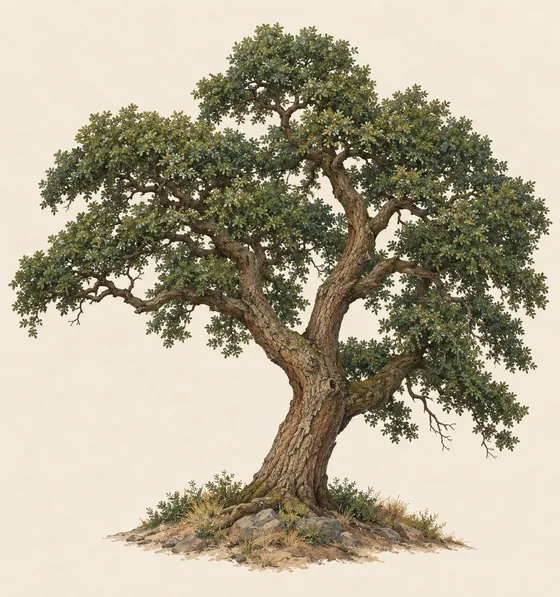
FL-01
Coast live oak
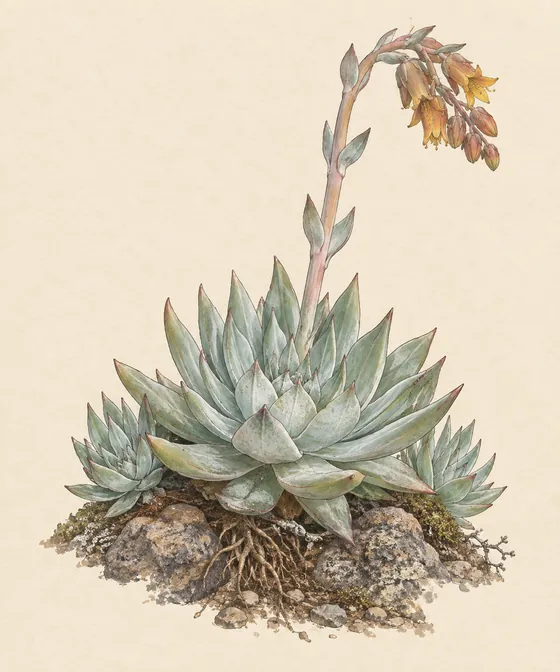
FL-02
Dudleya
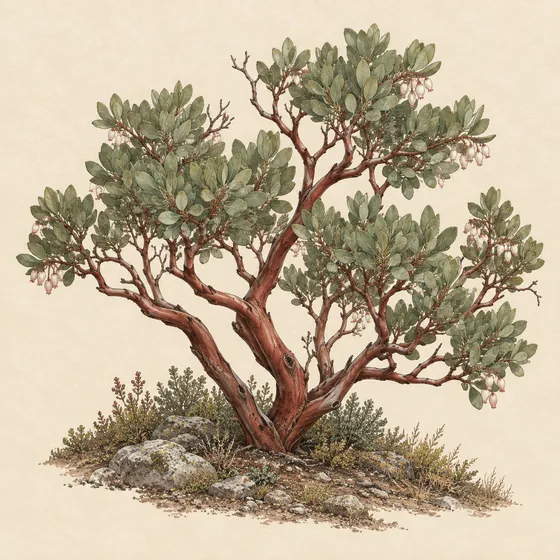
FL-03
Manzanita
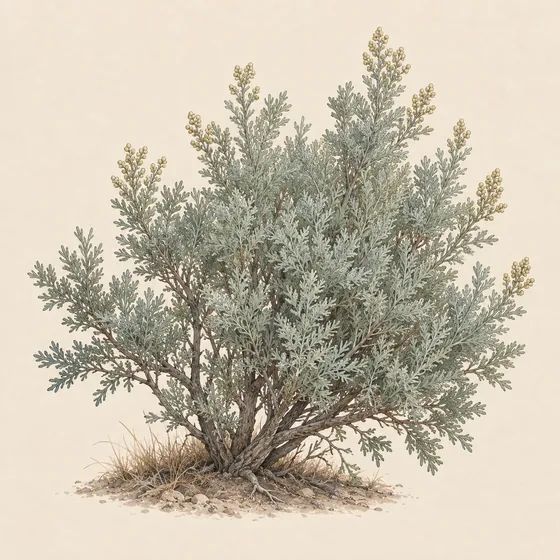
FL-04
Sagebrush
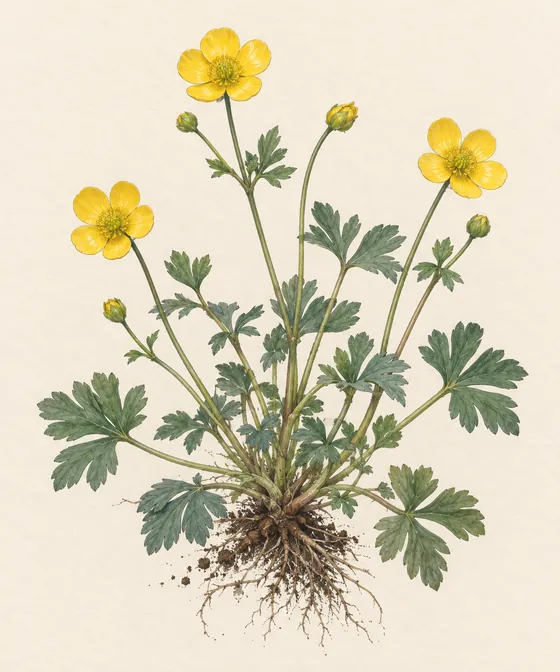
FL-05
Buttercup
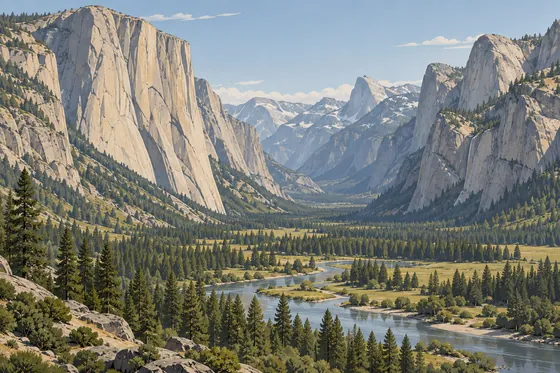
TR-01
Granite valley
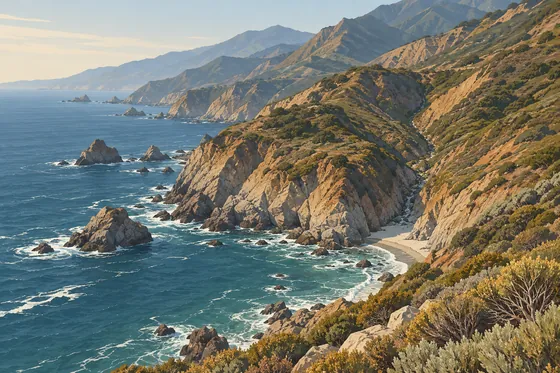
TR-02
Coastal cliffs
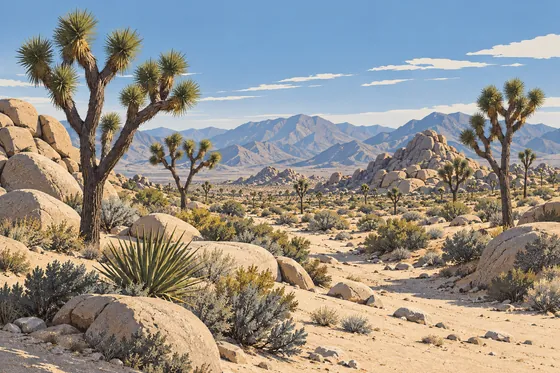
TR-03
Joshua tree woodland
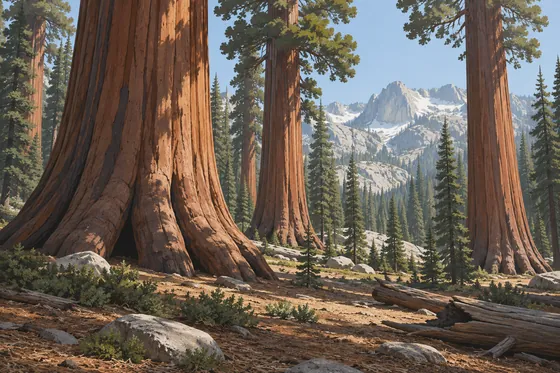
TR-04
Sequoia grove
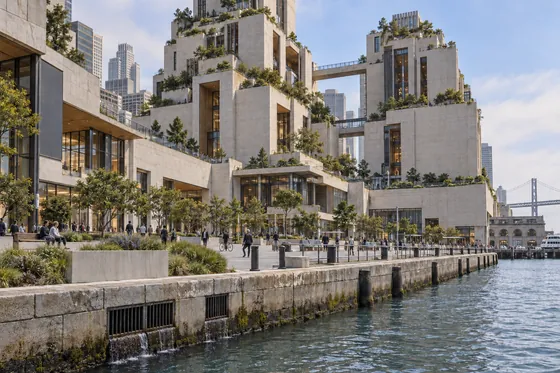
PL-01
Waterfront city
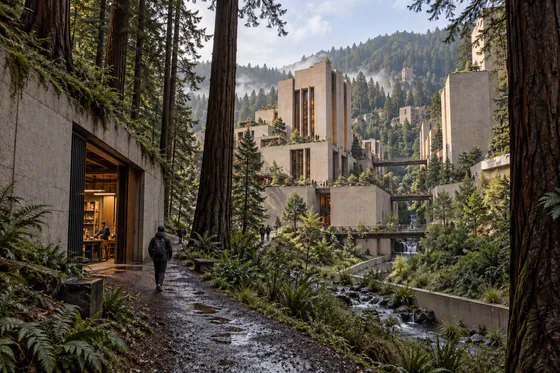
PL-02
Redwood path
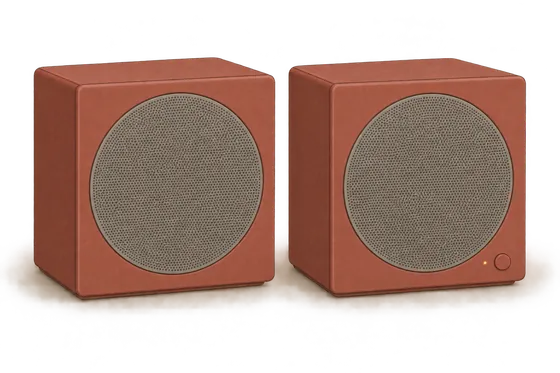
HH-01
Speakers
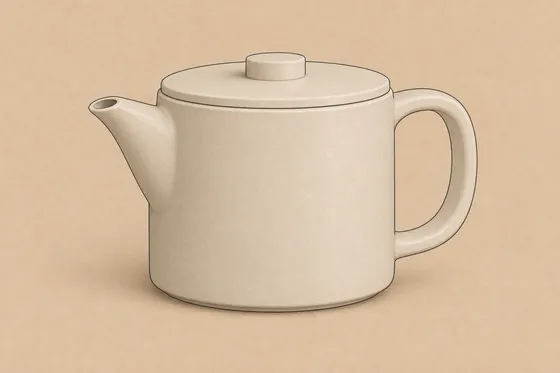
HH-02
Teapot
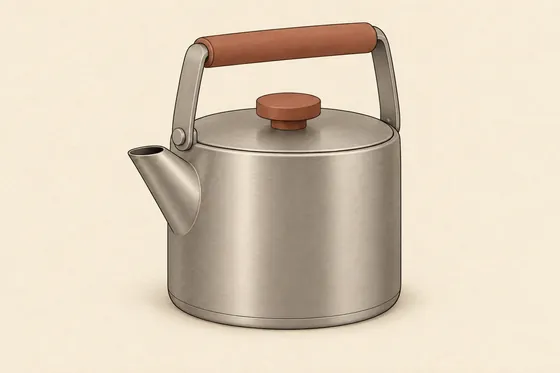
HH-03
Kettle
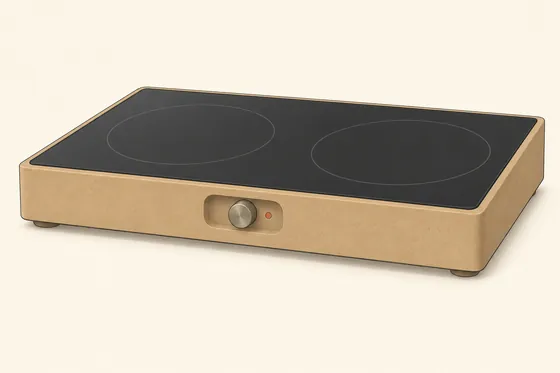
HH-04
Cooktop
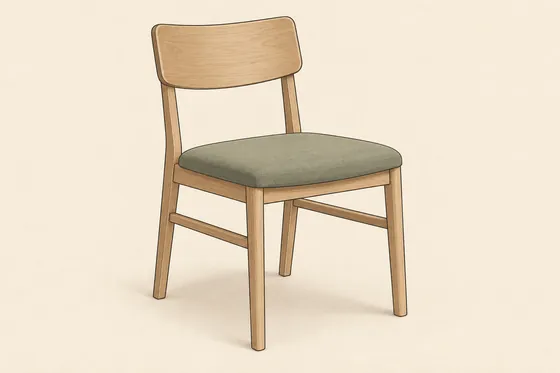
HH-05
Dining chair
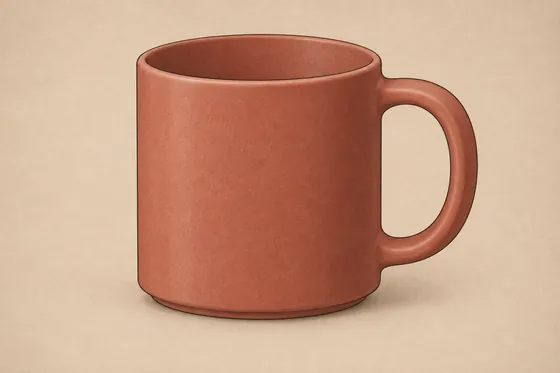
HH-06
Mug
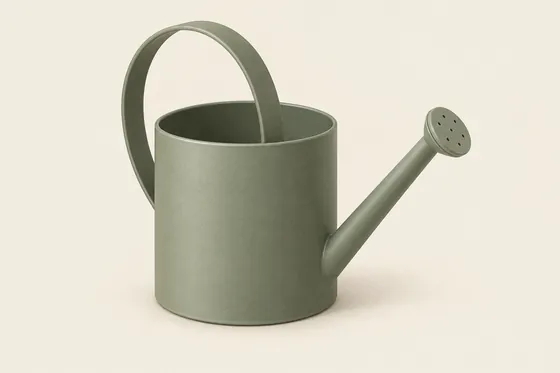
HH-07
Watering can
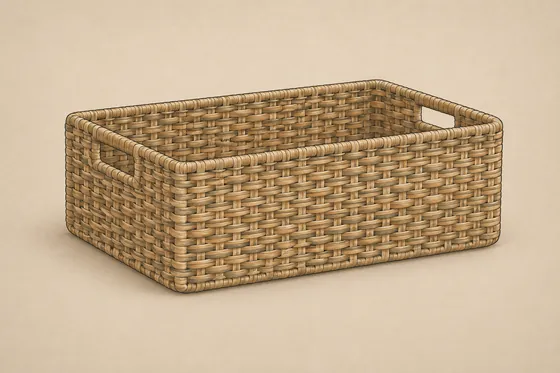
HH-08
Basket
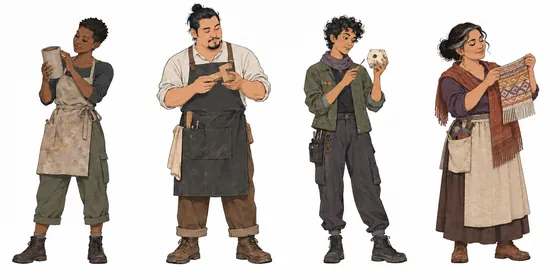
CH-01
Makers
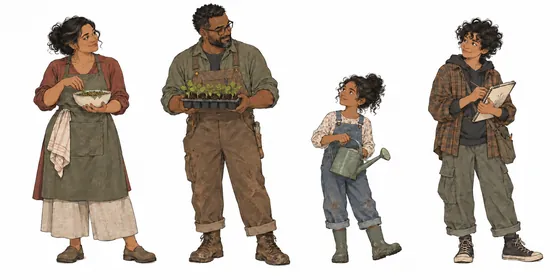
CH-02
Family
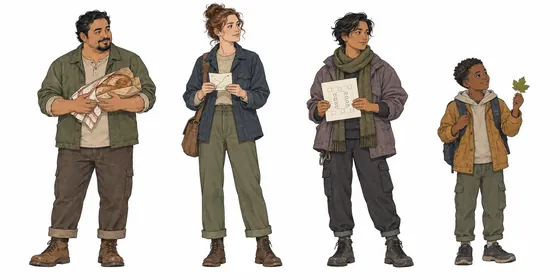
CH-03
Townspeople
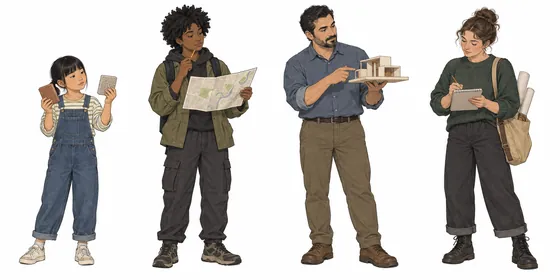
CH-04
Learners and mentors
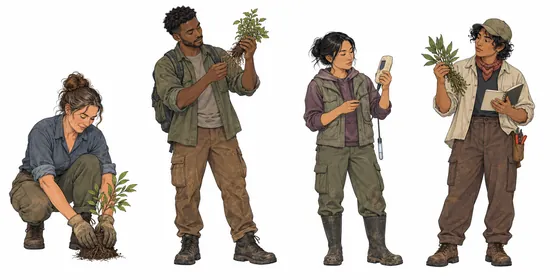
CH-05
Growers
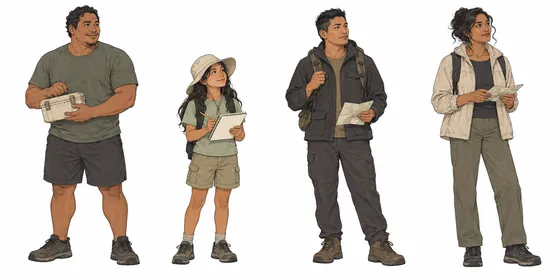
CH-06
Travelers
Step 10
Line art and the Line Studio
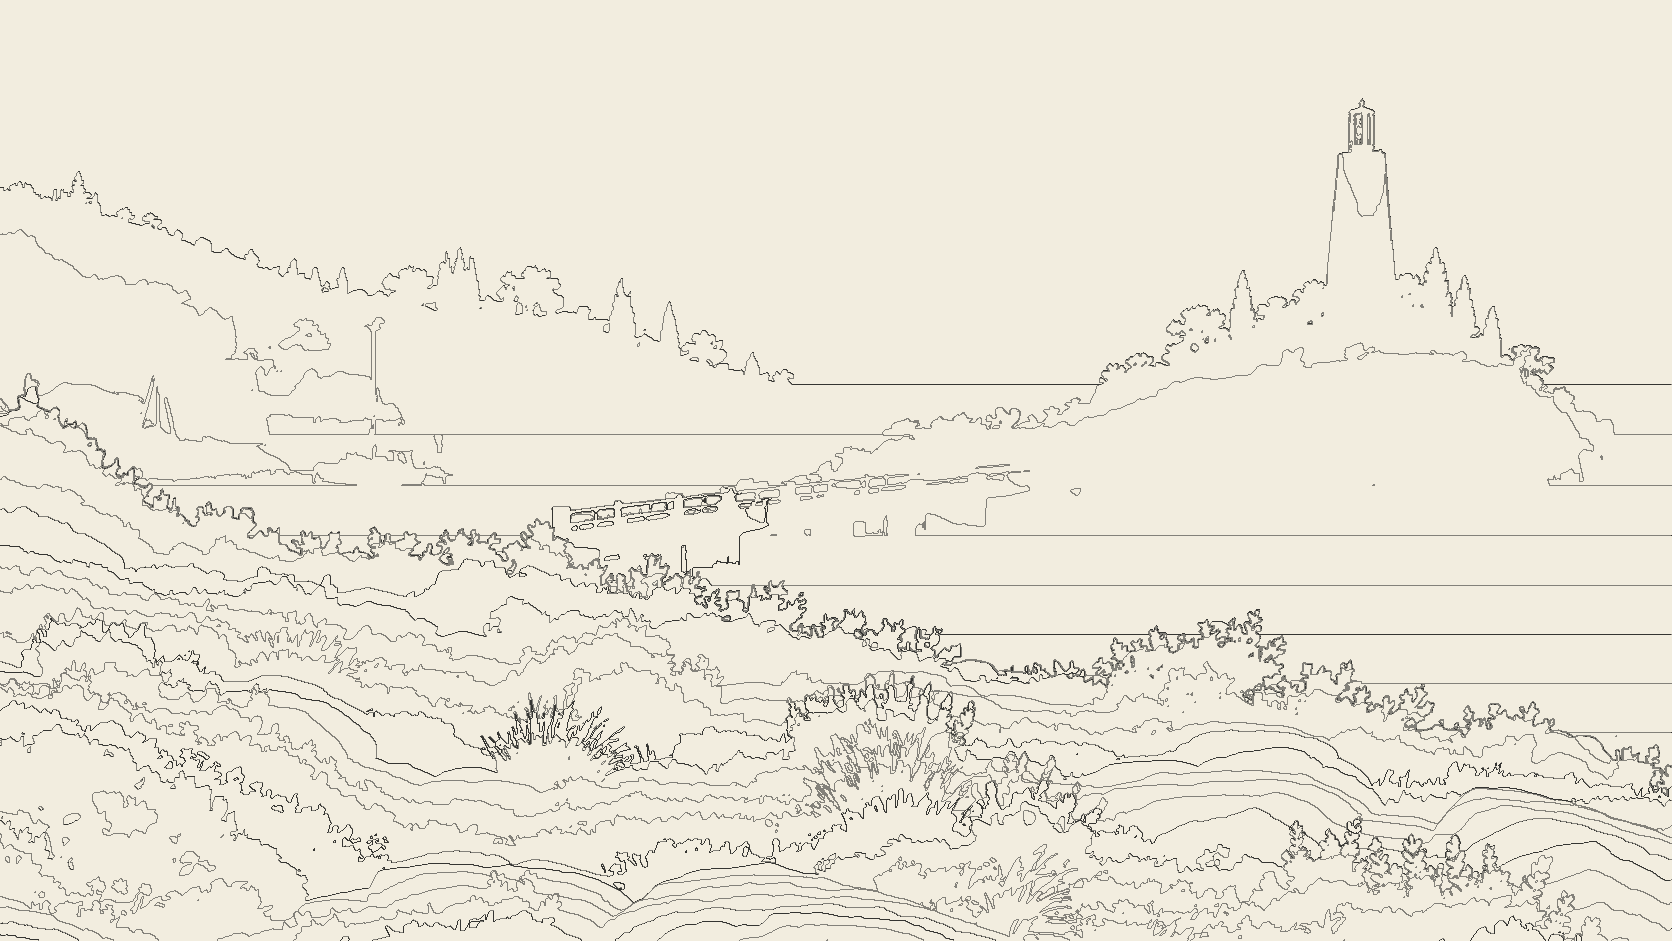
Around then I redesigned my Patterns app (an app I use to experiment with interactive Three.js and WebGL visualizations) in pure line art, and I really liked how it looked. I wanted the same for the illustrations, with the color and gradients taken away and each scene drawn only in black and white lines and hatching.
I asked for it in a way that interrogated each image, with several ways to explore and interact with it, including parallax. That became its own tool, the Line Studio.
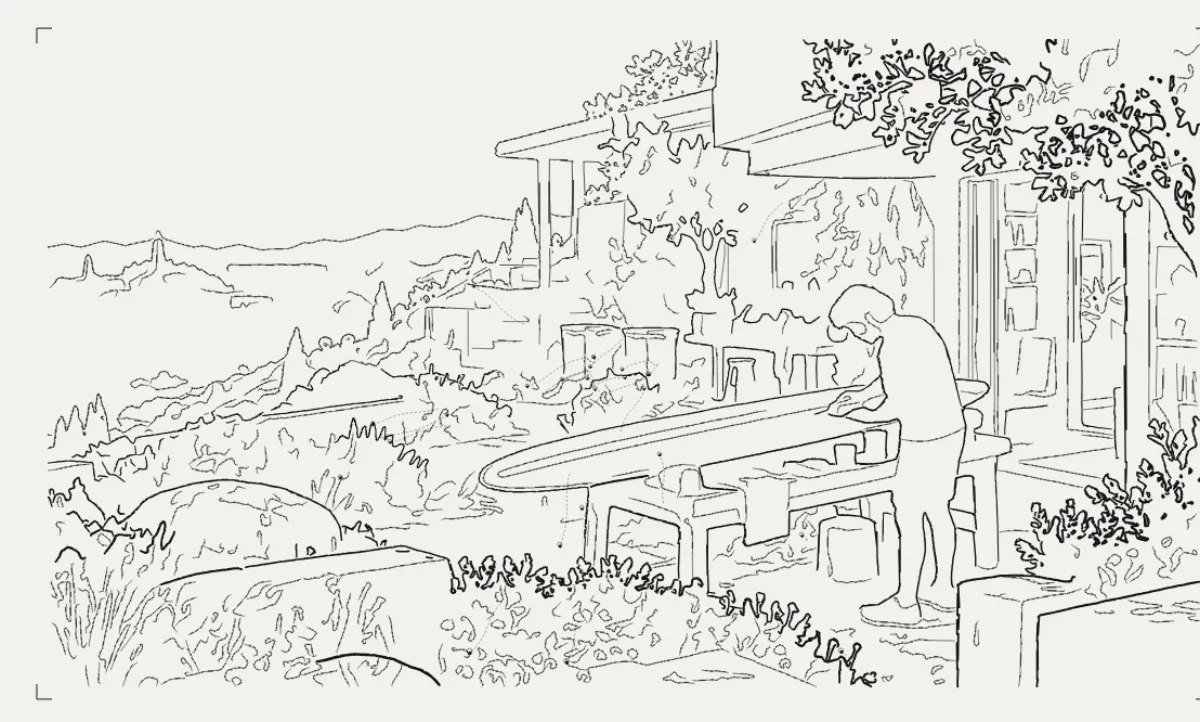
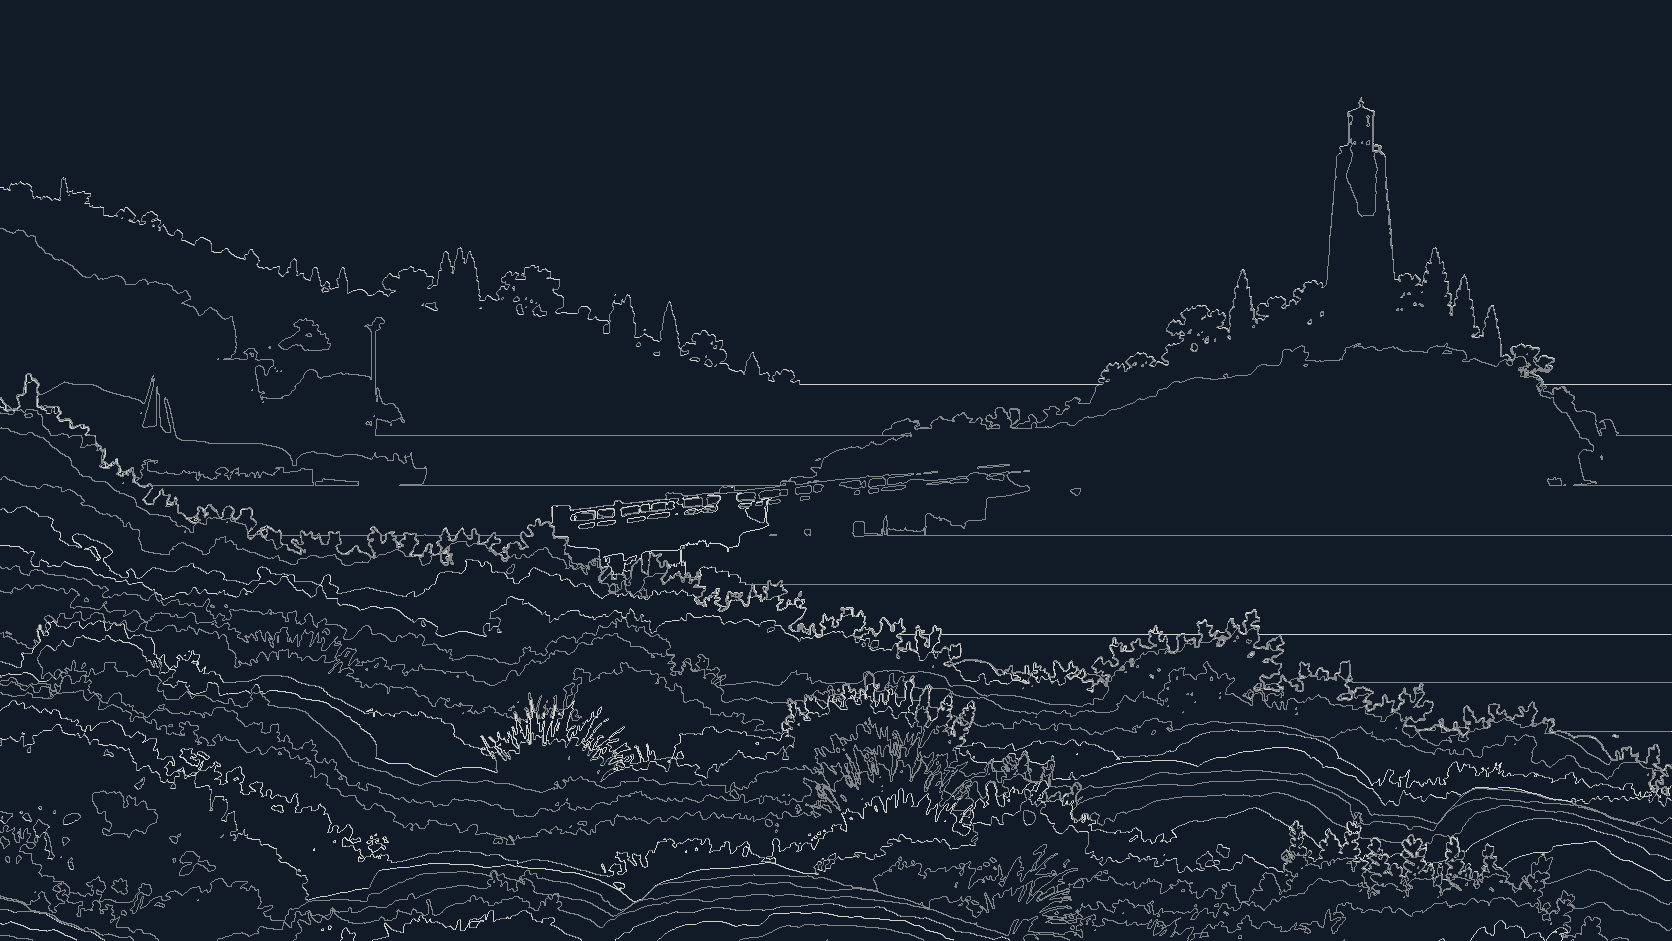
ContourOutlines weighted by distance, creases as hairlines.
Step 11
Finding the planes and objects
One of the Line Studio's tools turned out to segment an image into planes and objects really well.
It measures a painting once with a depth model and a segmentation model. After that it knows where the edges are, how far away each pixel sits and what everything is made of. Move the lens across the painting to see each measurement.
 Reading the painting…
Canny on log depth and luminance, tracedOutlines and creases, stored as lines of points that each carry a depth.
Step 12
Parallax that works
So I applied the same technique to the paintings themselves and used it for parallax, and it worked really well. Every point has its own depth, so the painting moves point by point, with nearer objects always in front.
The parallax on every page of the site now comes from this system. Click the line icon next to the theme toggle on any page to see the outlines, contours and objects it found. This is the homepage engine, running live.
01 · Depth per pixel
The shader looks up how far away each pixel is and moves it by that amount. Nearer paint always covers farther paint.
02 · Edges match the paint
Depth edges are snapped to the painting's own edges, so nothing leaves a halo when it moves.
03 · Flat things stay flat
Walls, floors and people are fitted to flat planes, so they move as solid objects.
04 · Lines hide the seams
Each outline moves with the object in front of it, which covers the spot where the depth jumps.
Step 13
Stepping into the About painting
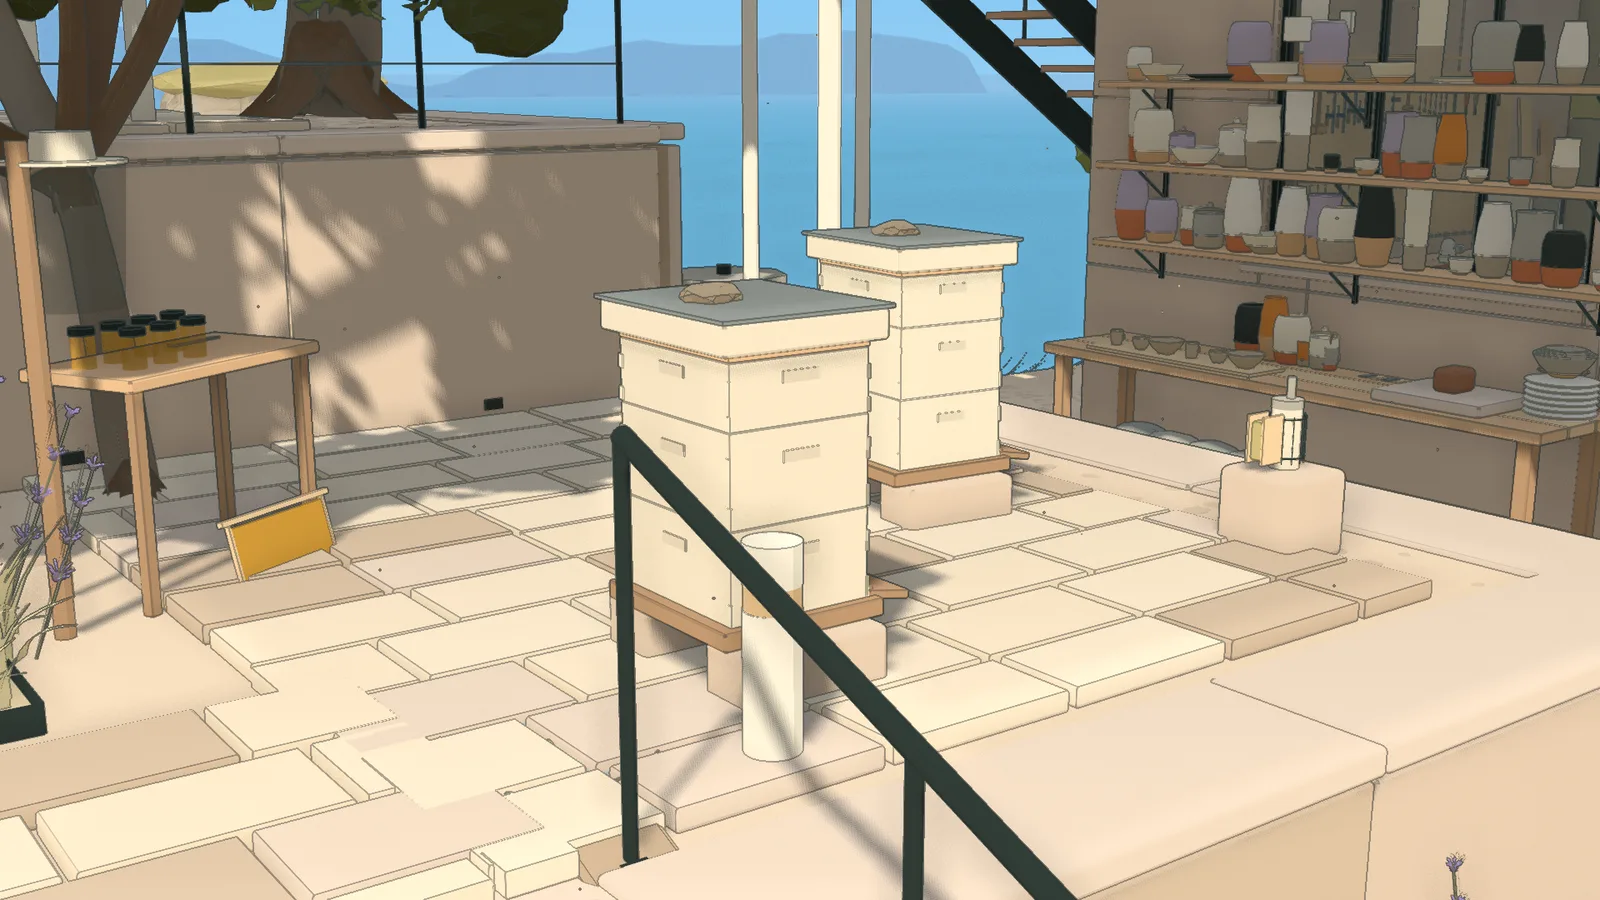
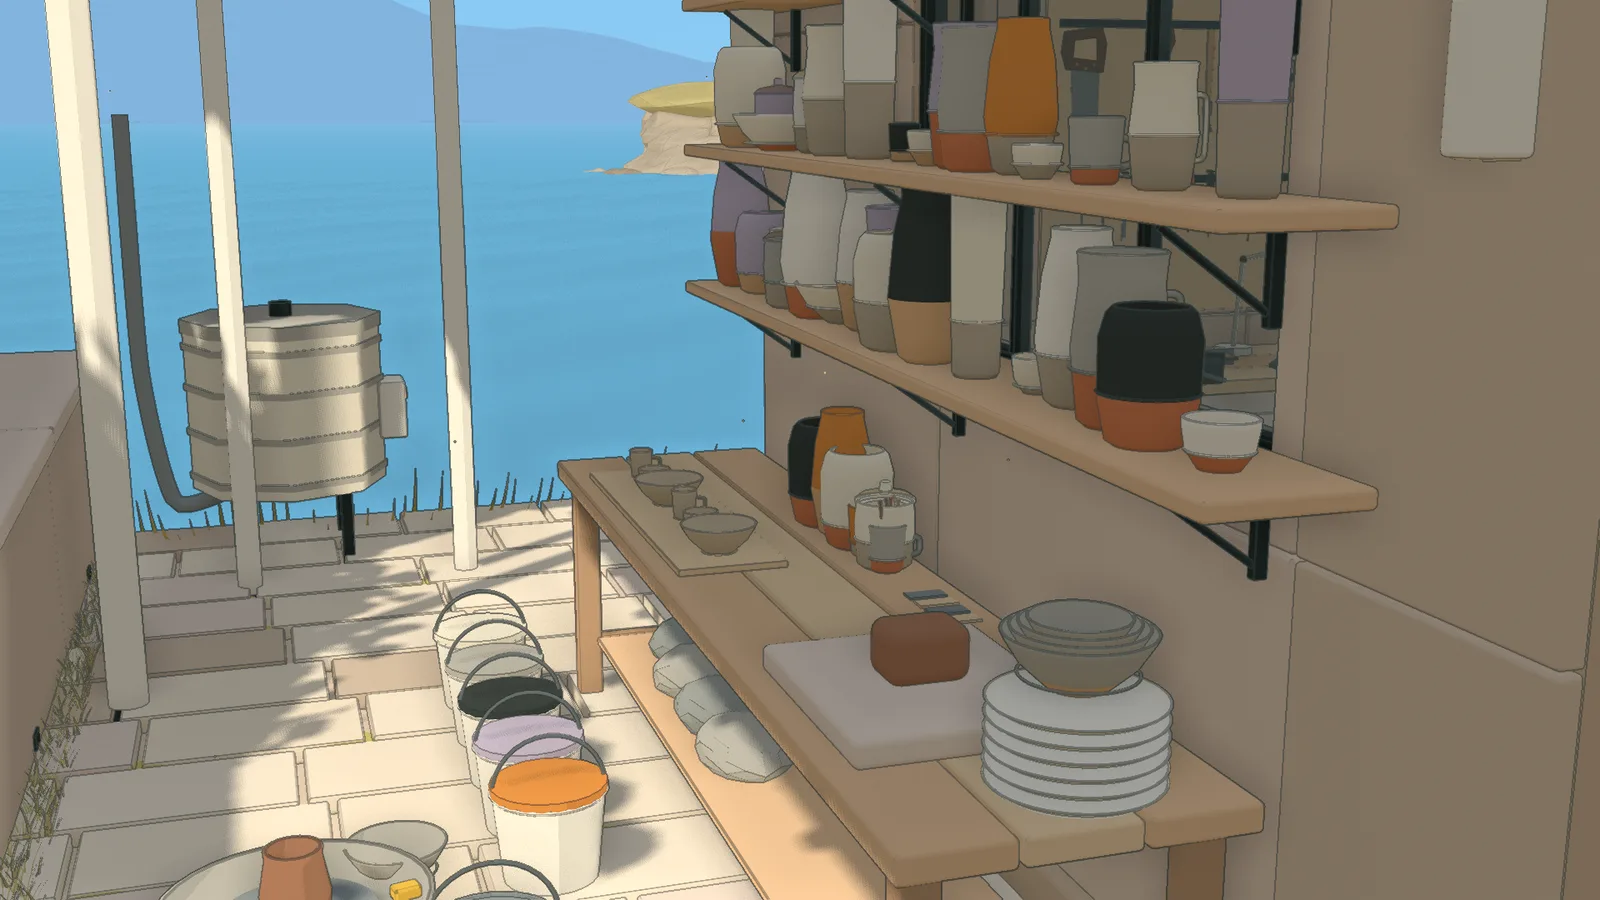
Once the About painting had a depth for every pixel, I wanted to step inside it. On a laptop or desktop, choose View Only on the About page and then Go deeper. The painting shrinks back and fades into the terrace it shows, built in 3D so you can turn it, visit its stops and walk around.
The plan comes from the painting. A script turns its measured depth into a top-down plan and writes down where 15 points in the picture sit, in metres. I tidied those into a terrace plan, with the hives on a level 0.9 m up and the pavilion at 2.2 m. It is all built in code, mostly from boxes, rods and turned shapes, and the kit that makes them runs to about 4,900 lines.
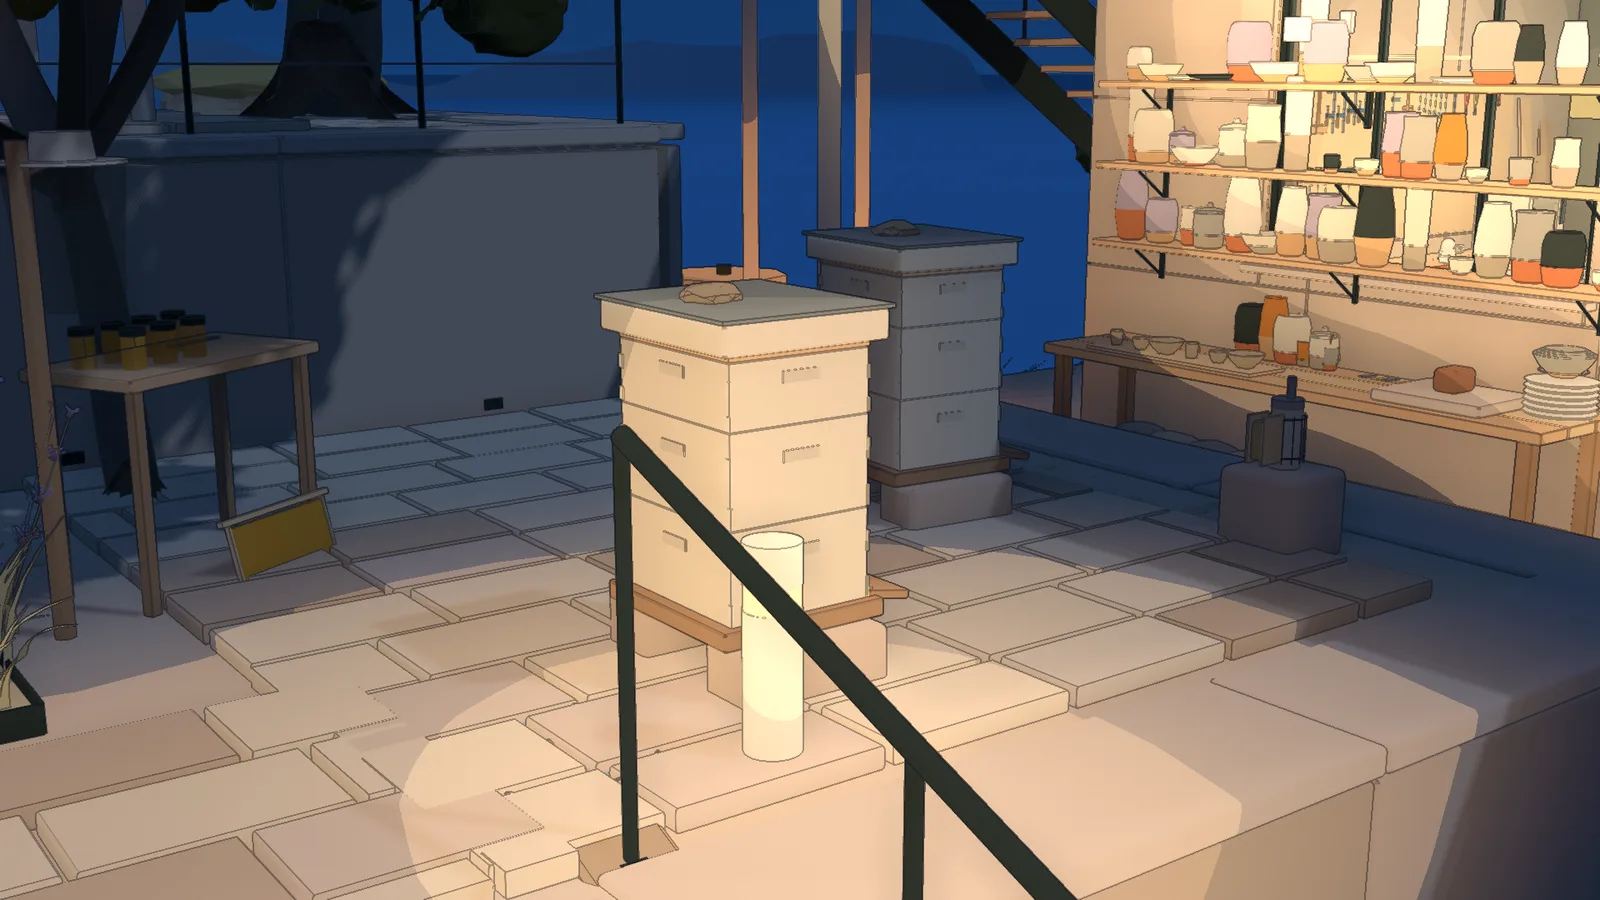
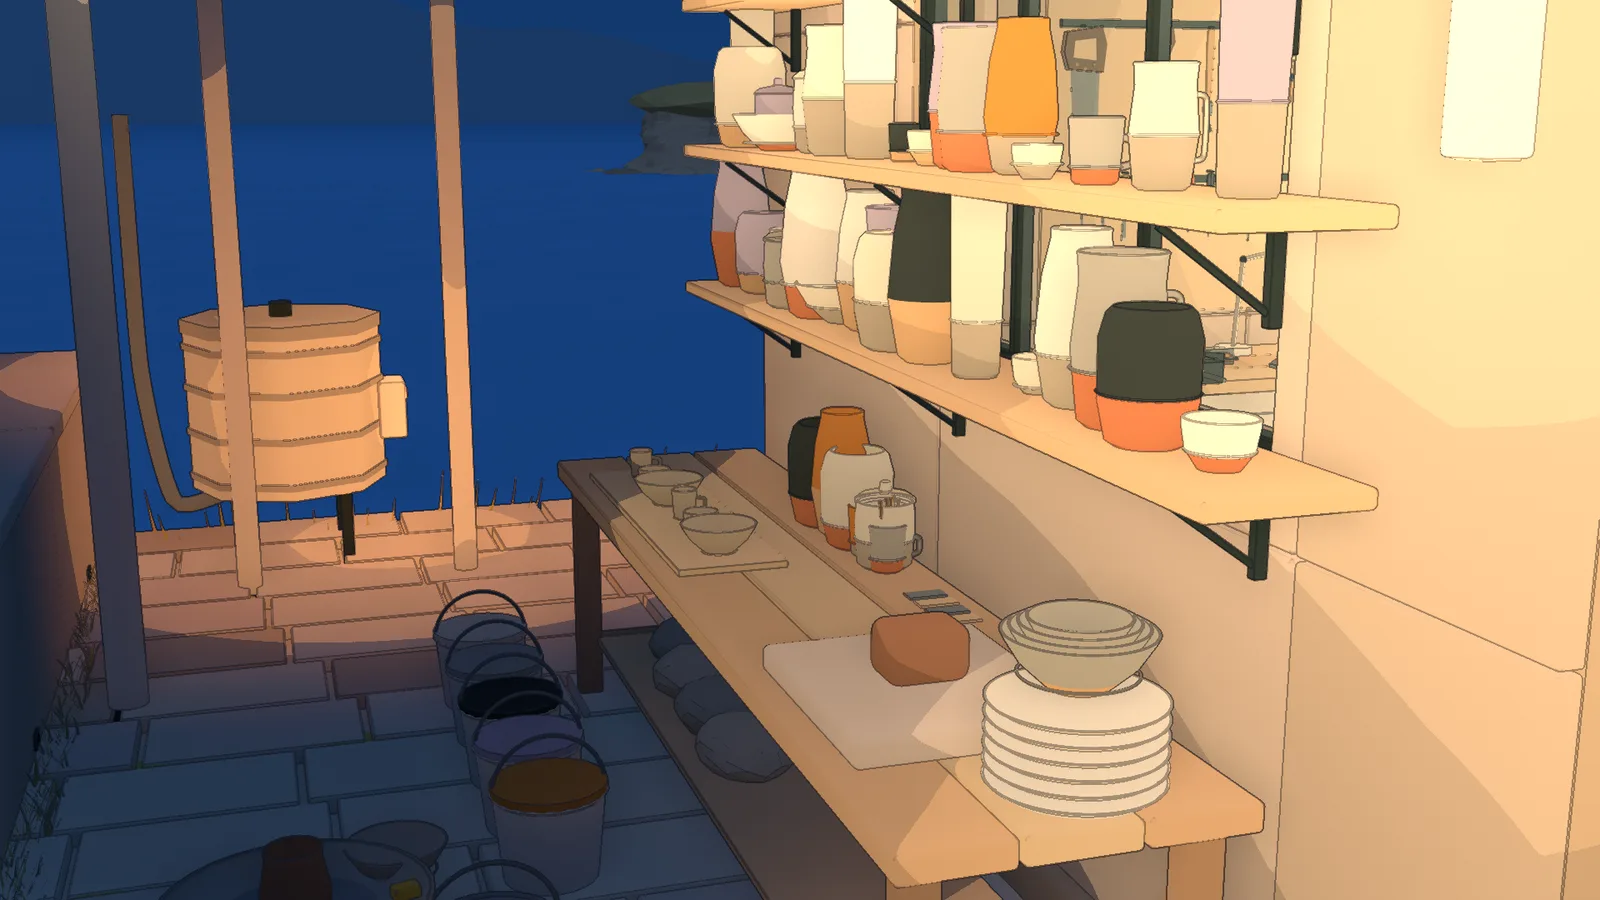
It's drawn in ink to match the line drawings. Hard surfaces take three flat tones and plants take five, then a second pass inks the edges and adds a little paper grain. Four of the stops share their names and notes with the painting's callouts. First person lets you walk it, on a walk map I wrote by hand with every floor height, stair and planting bed.
Two objects open in a studio of their own, where they keep running. The orrery's arms each turn at their own pace, and the filament printer prints a stepped part, clears the plate and starts again. The terrace follows the site's day and night, and when frames run long it steps down a ladder of eight quality levels to hold 60 fps.
Next I'm rebuilding the terrace to look real, with the light baked in Blender.
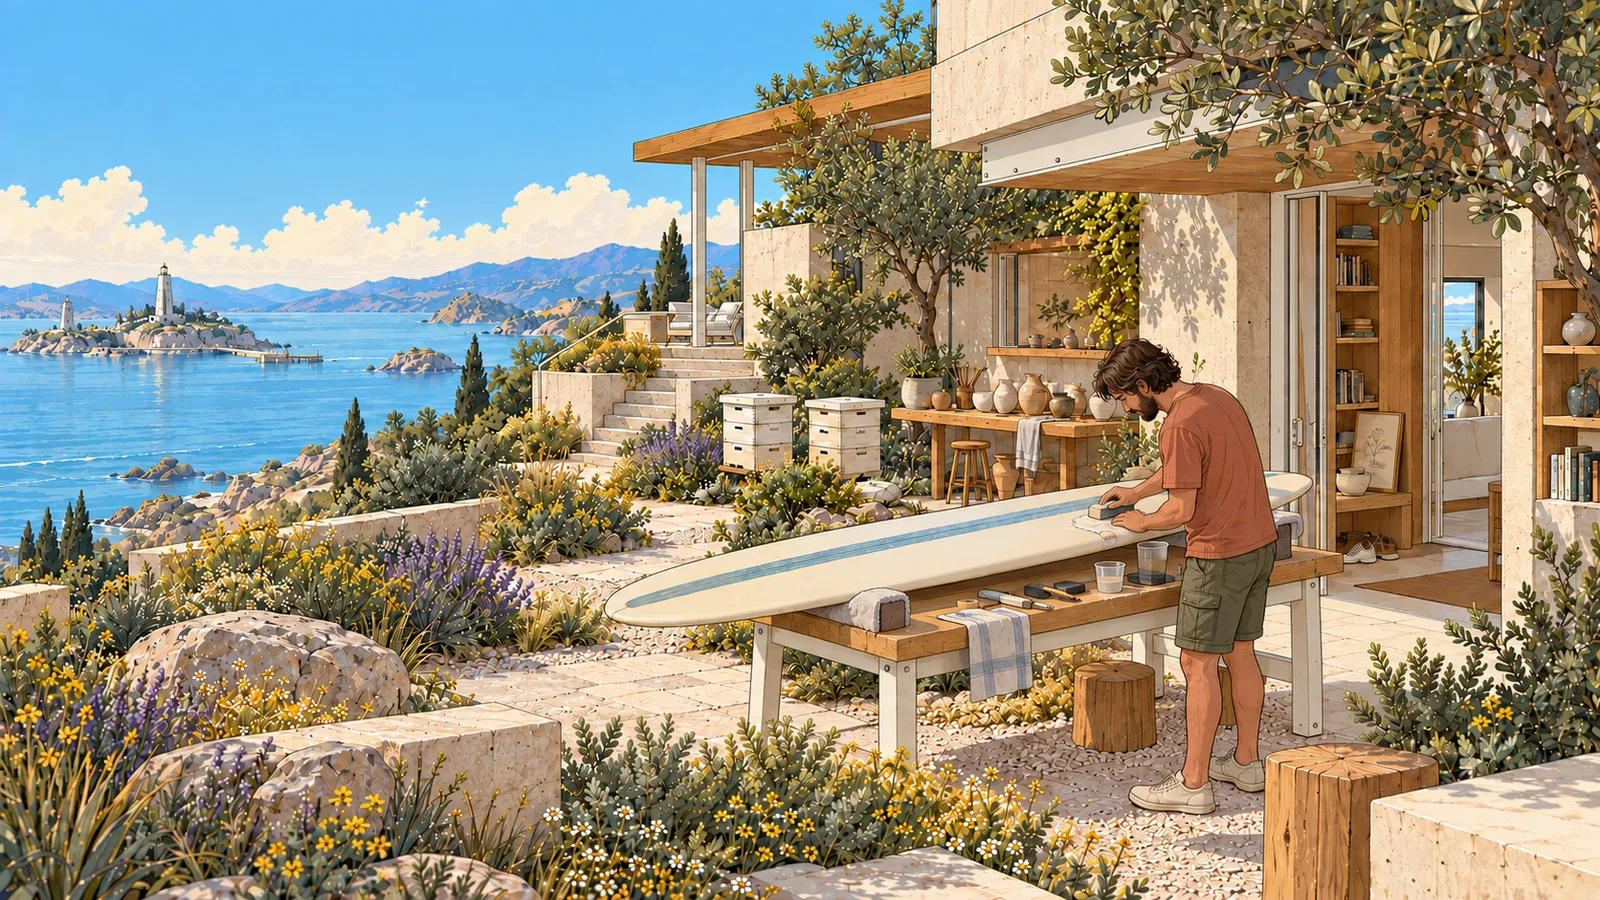
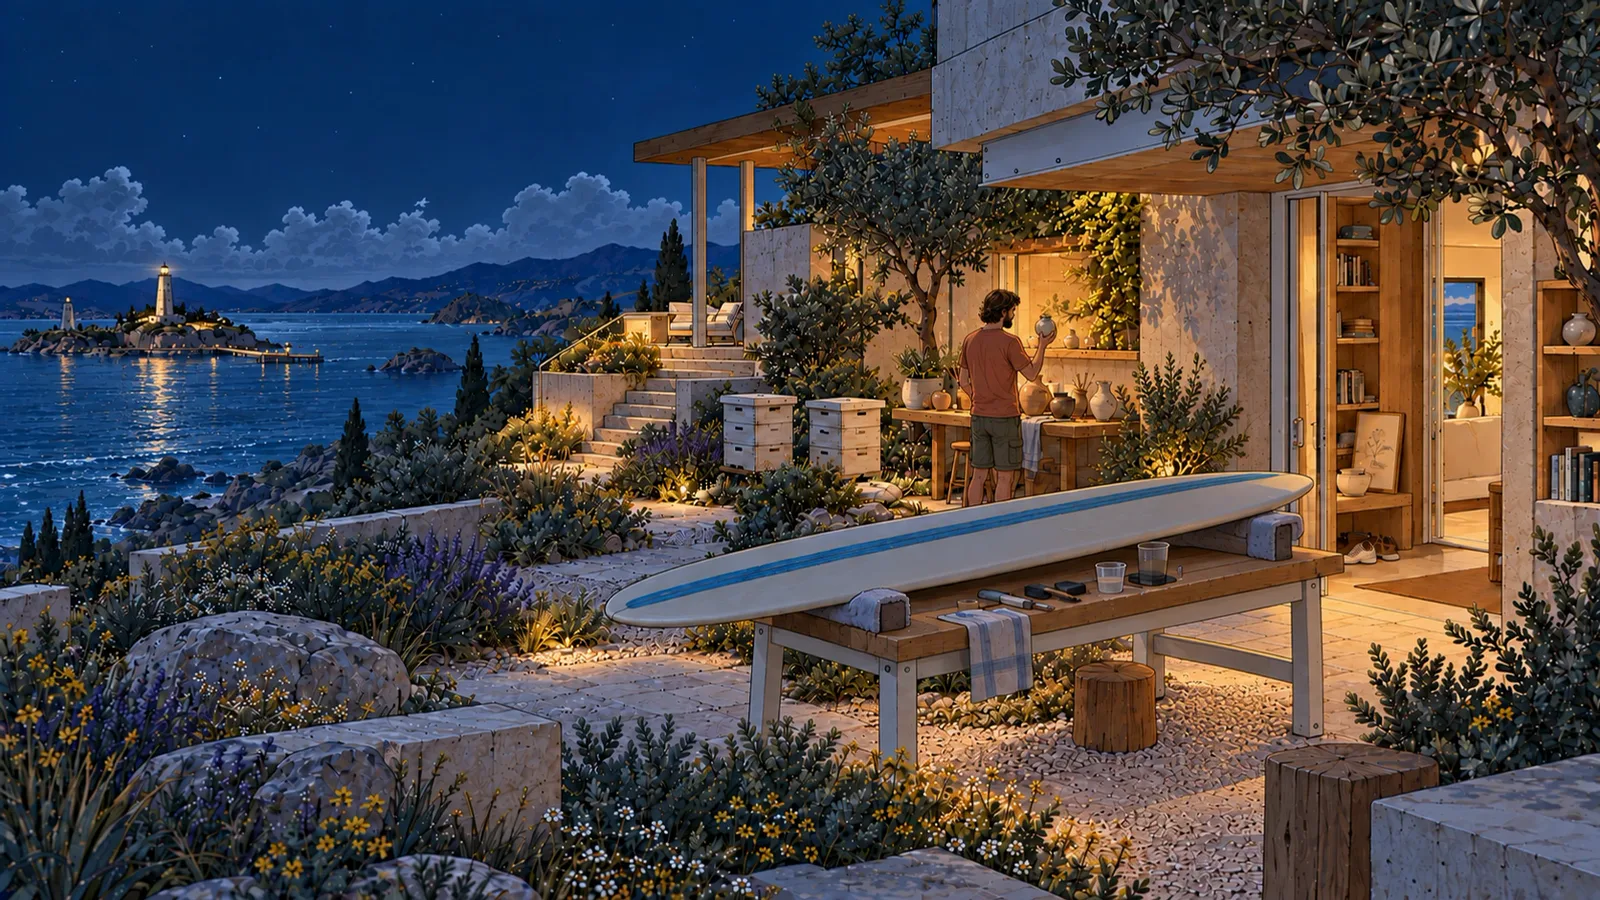
The painting
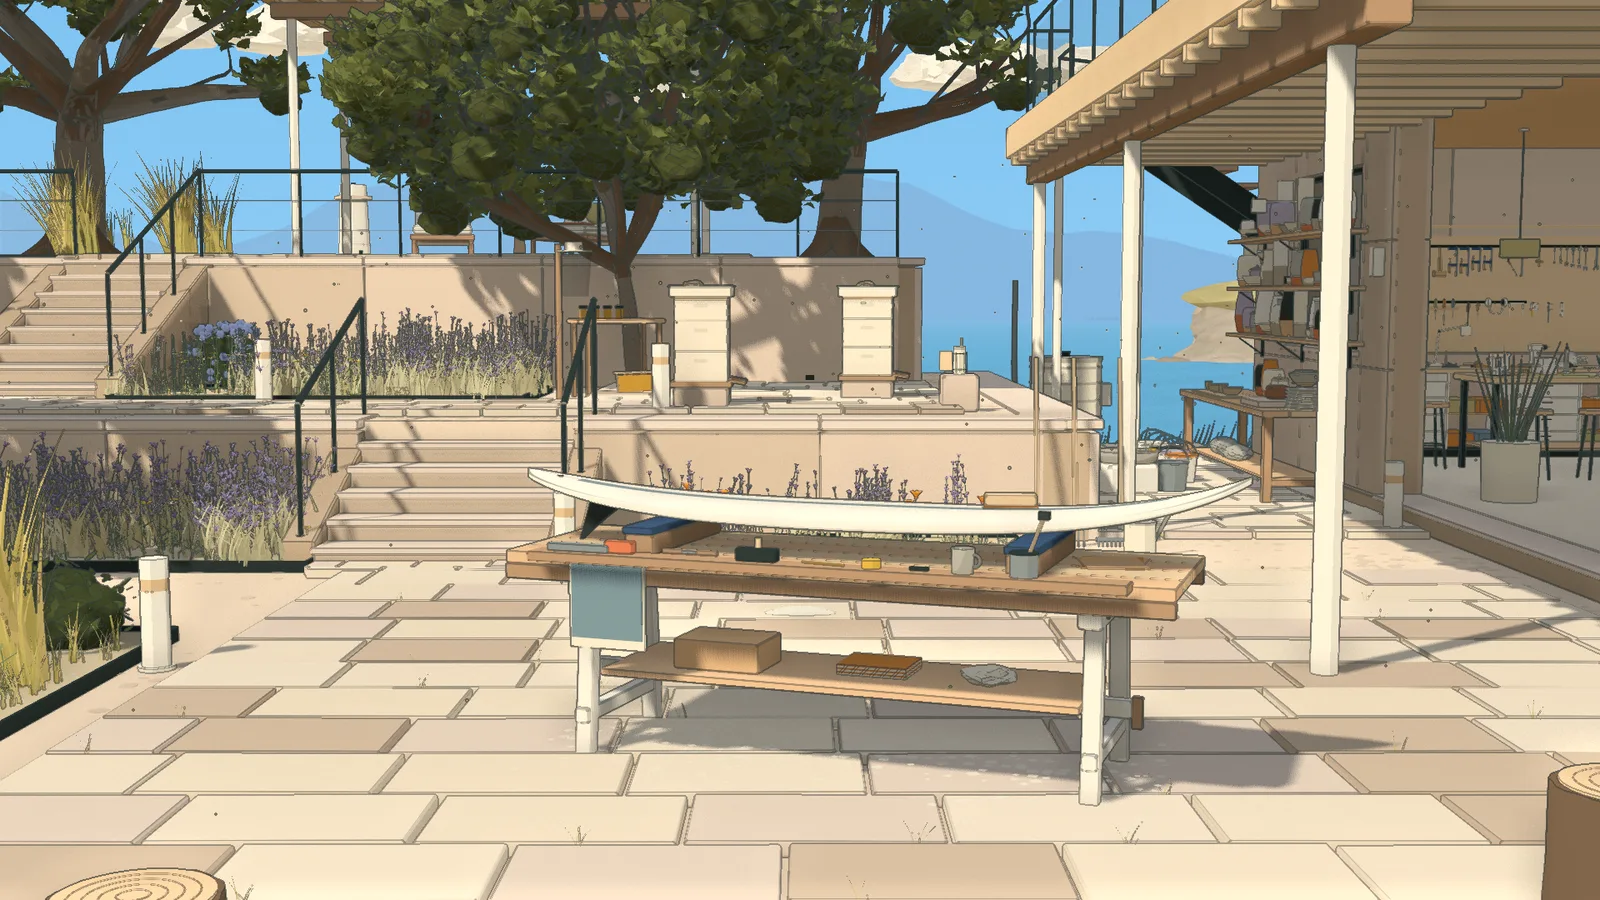
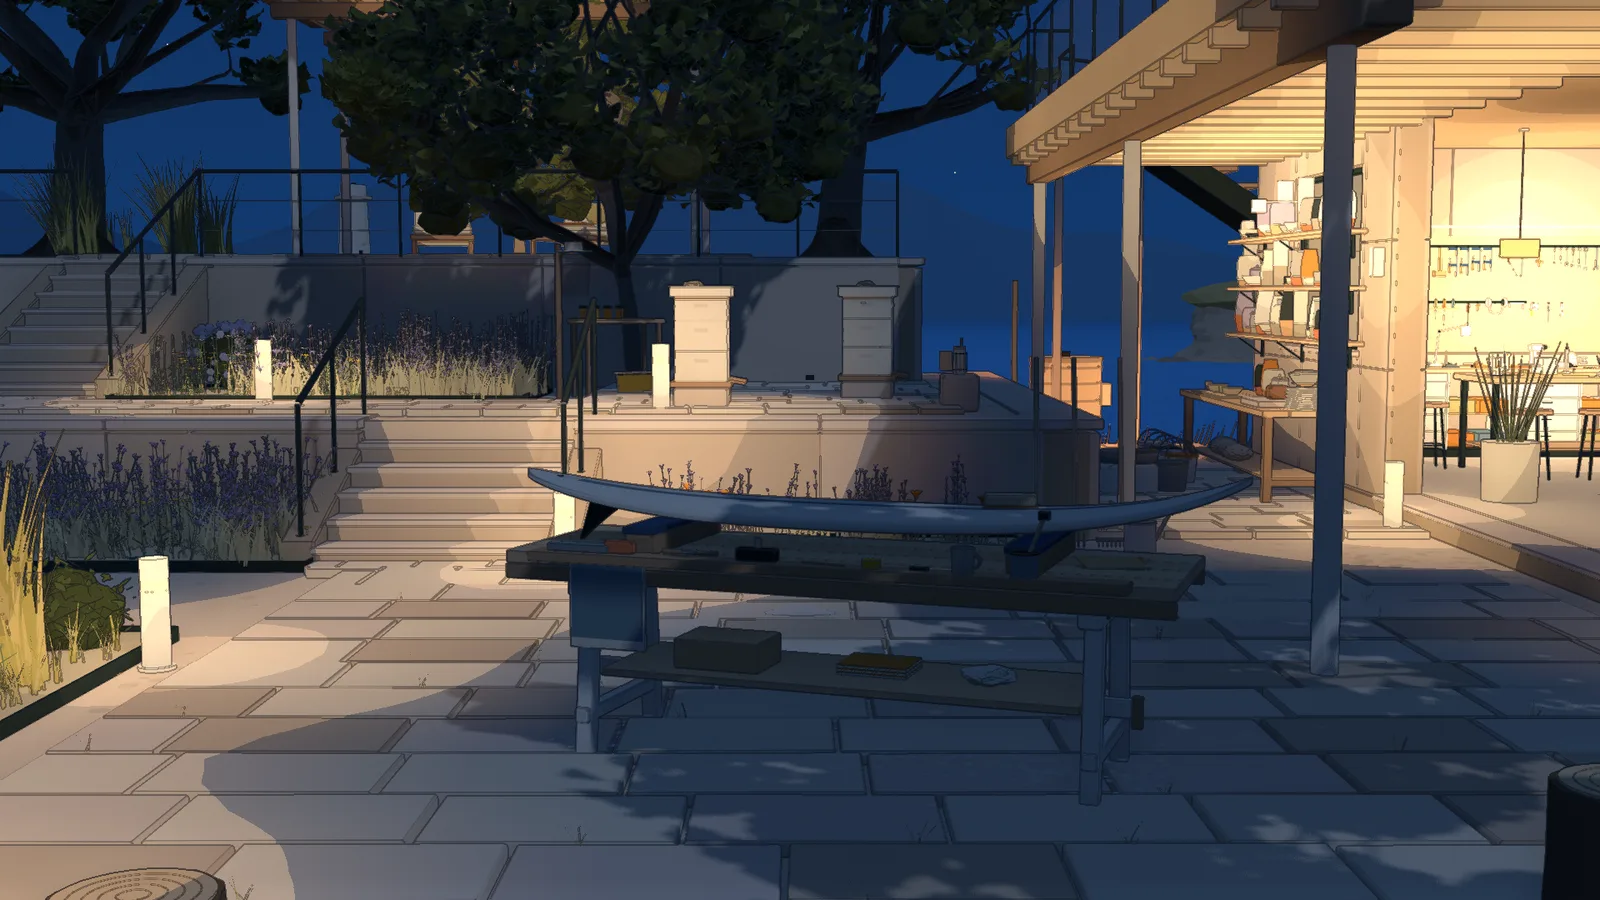
The world, from about the same spot
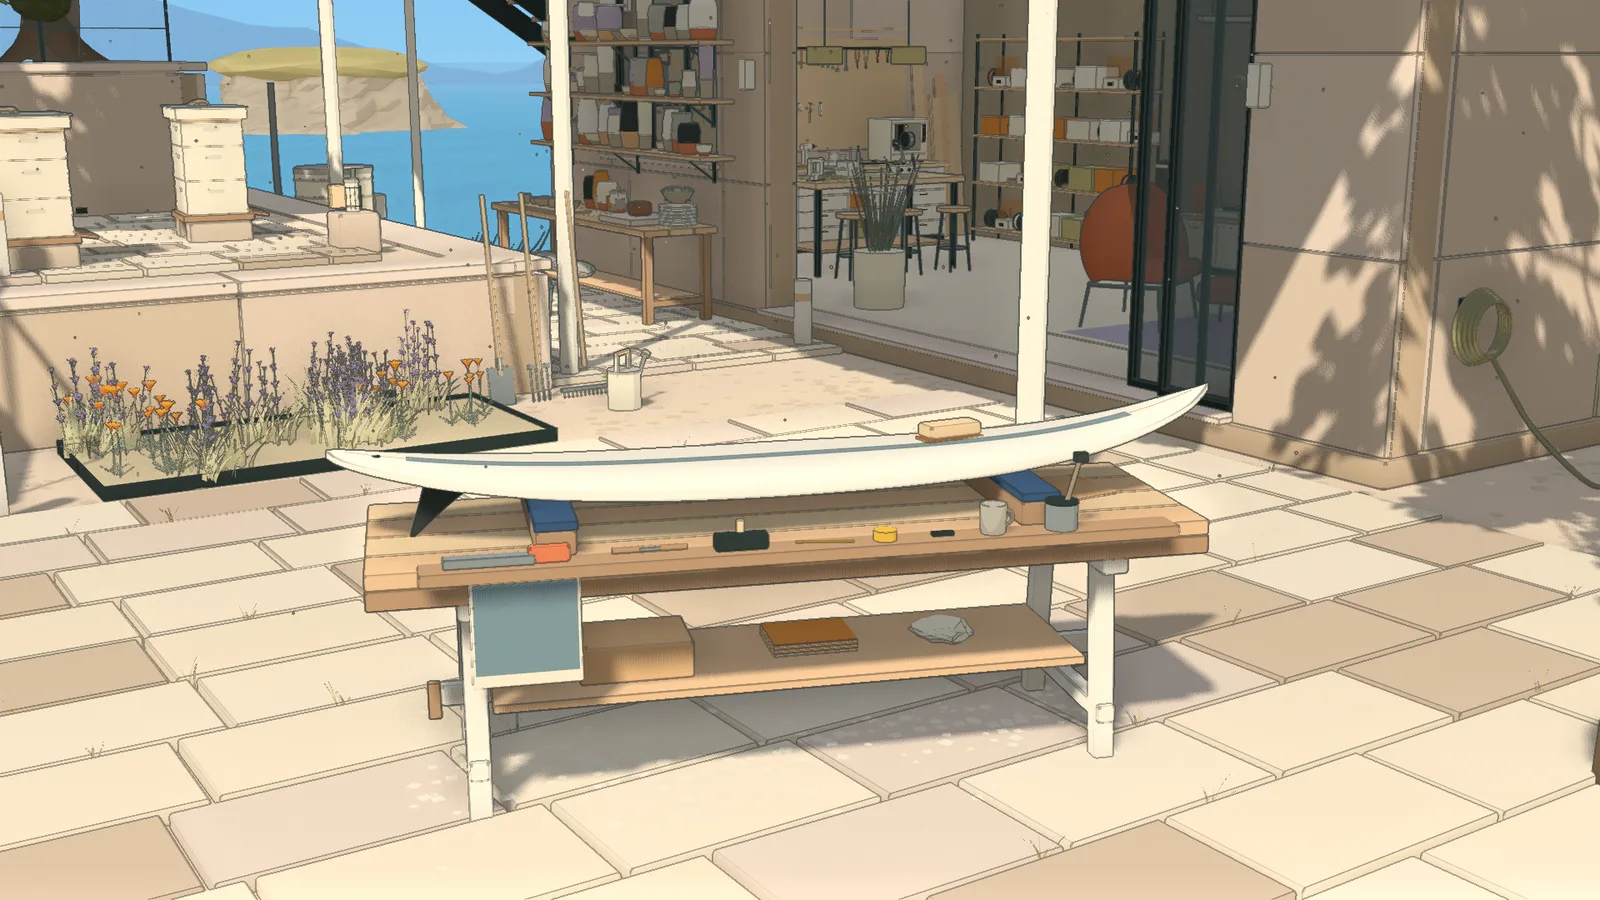
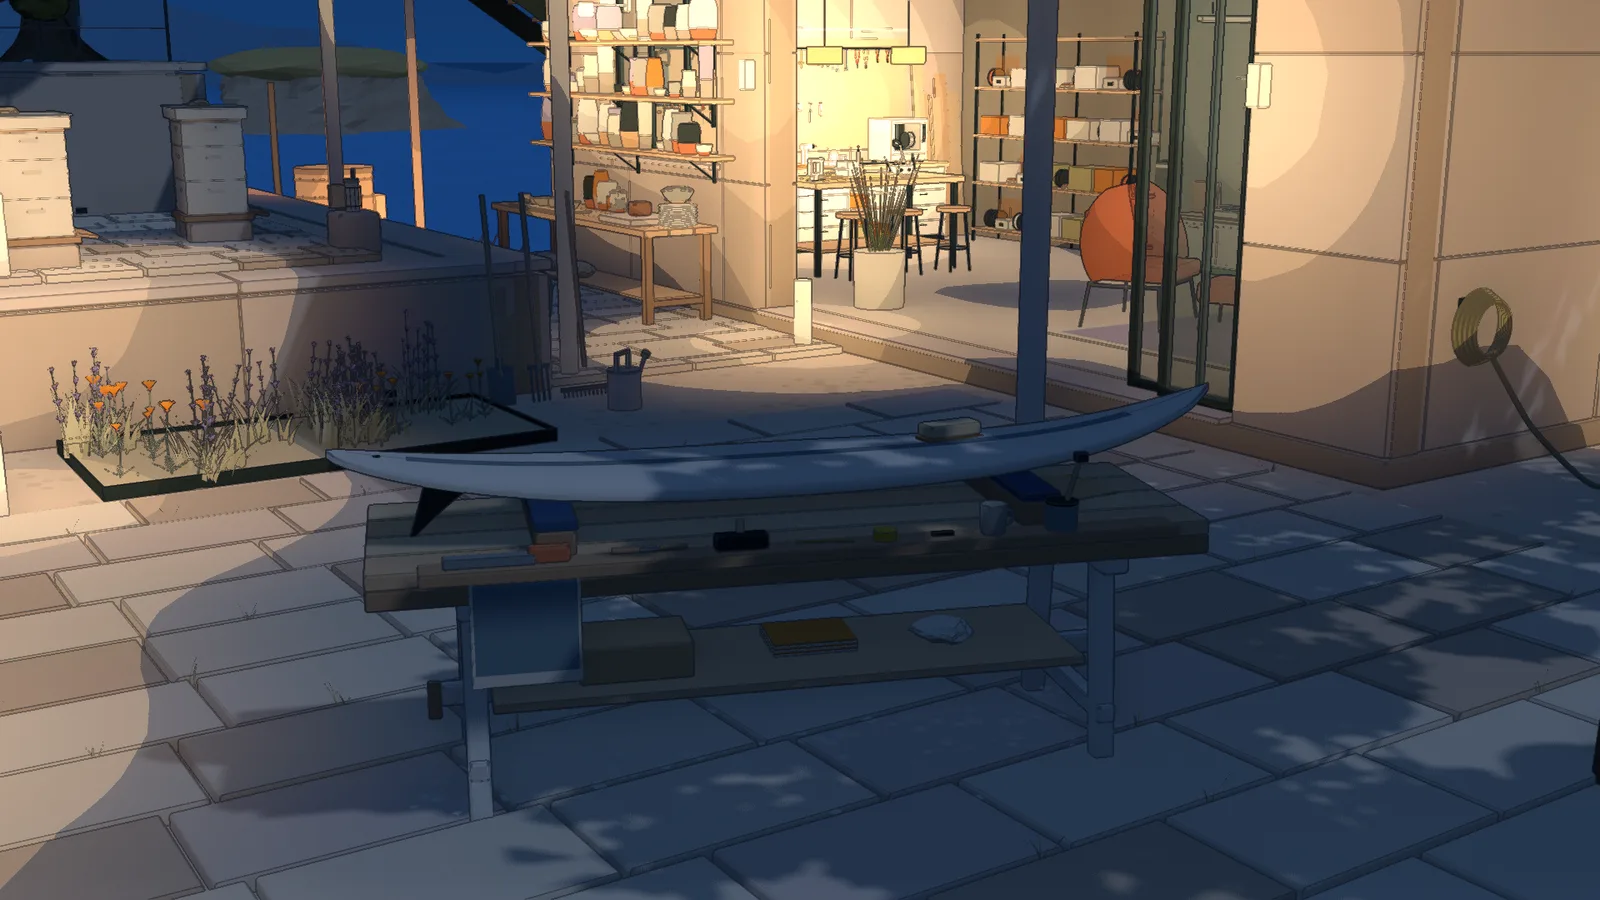
Longboard
Hives
Pottery shelf
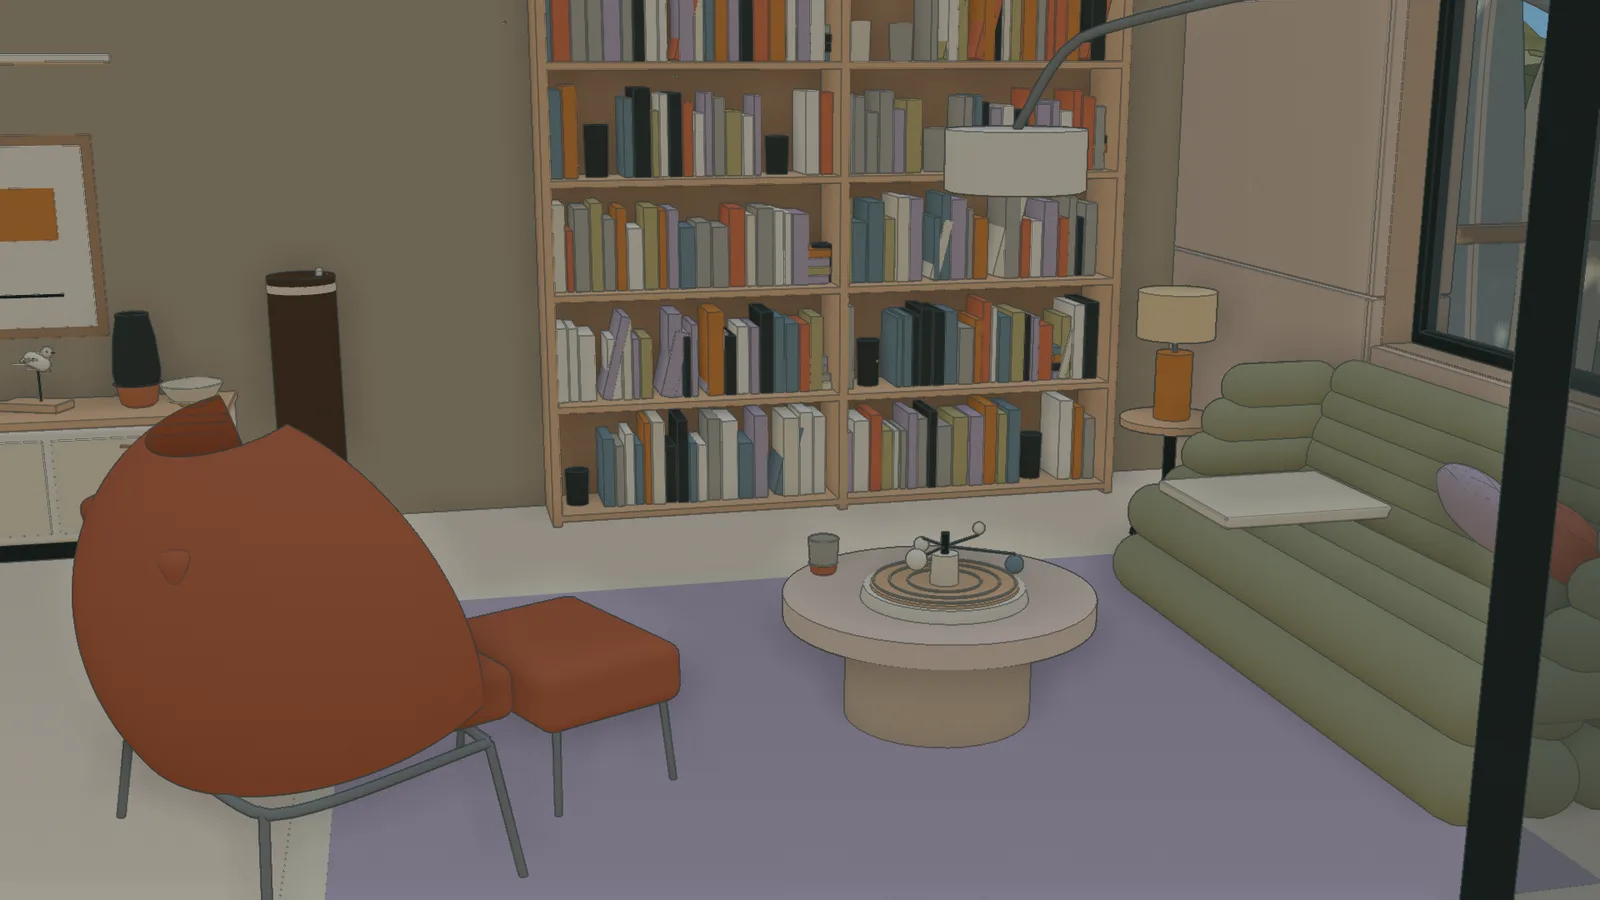
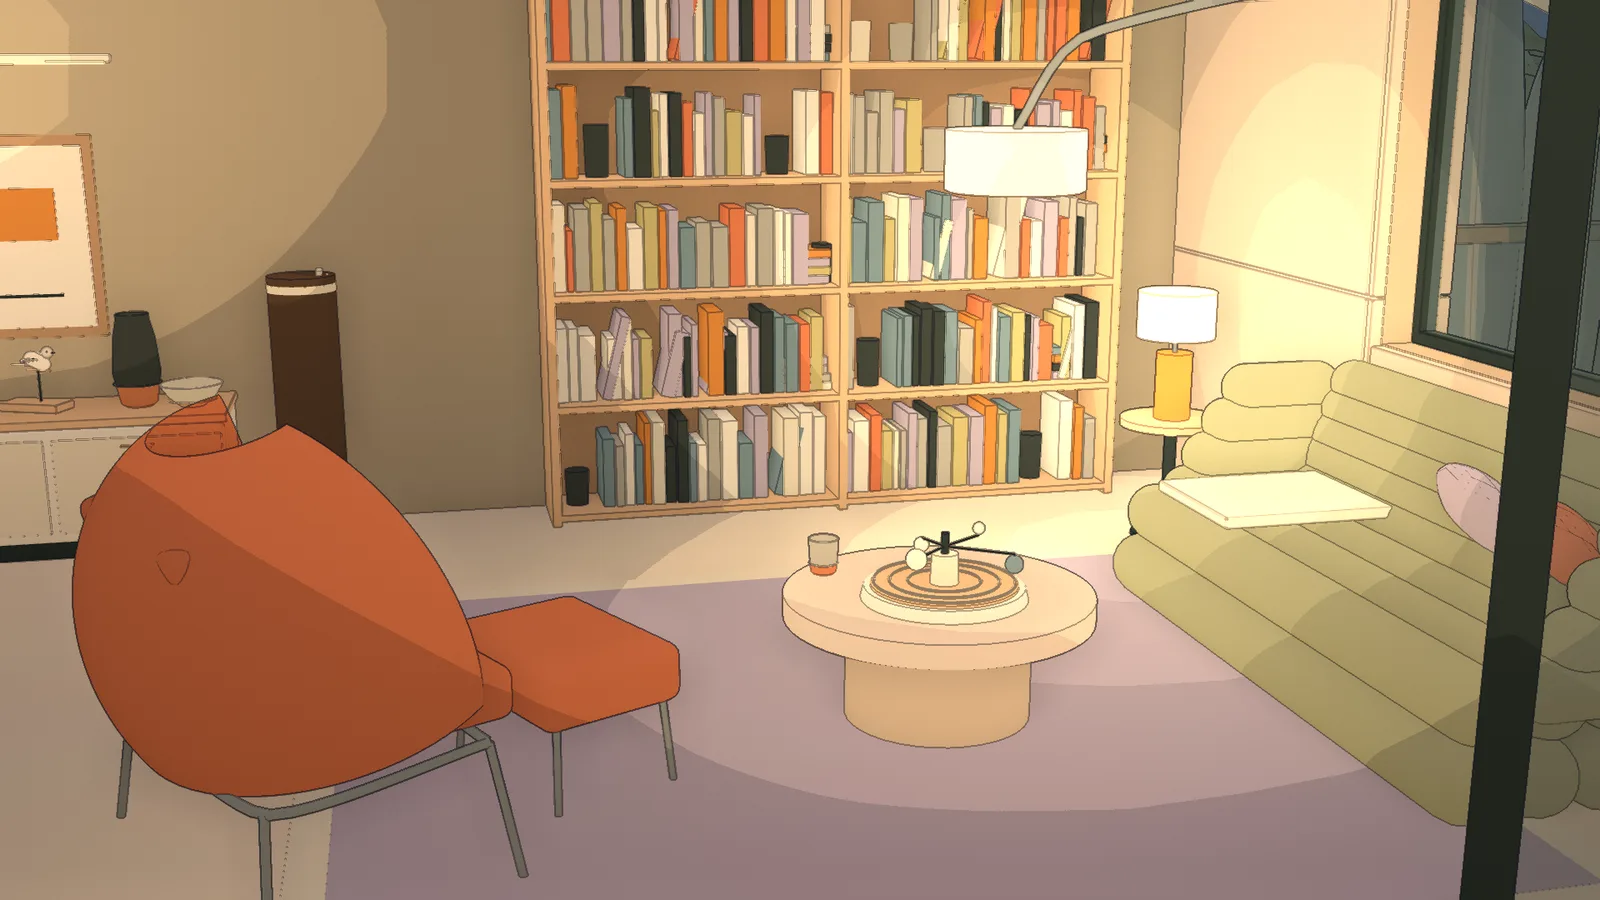
Library
Step 14
Making the world real
Before rebuilding the terrace, I ran a look test. A script takes the illustrated world's blockout, 137,843 objects in an 88 MB file, and rebuilds it in Blender with scanned textures, plants and rocks from Poly Haven. Cycles renders it from the painting's camera.
Two AI judges score the renders. The realism judge sees them shuffled in with 16 real photographs and has to say which is which. It called every look test still a render and scored them 3 to 4 out of 10, against 9.9 for the photos and 1.2 for the toon world. The lighting judge scored the toon world's light higher, for its leaf dapple, lamp pools and blue moonlight. Cycles' sun was flat and hazy.
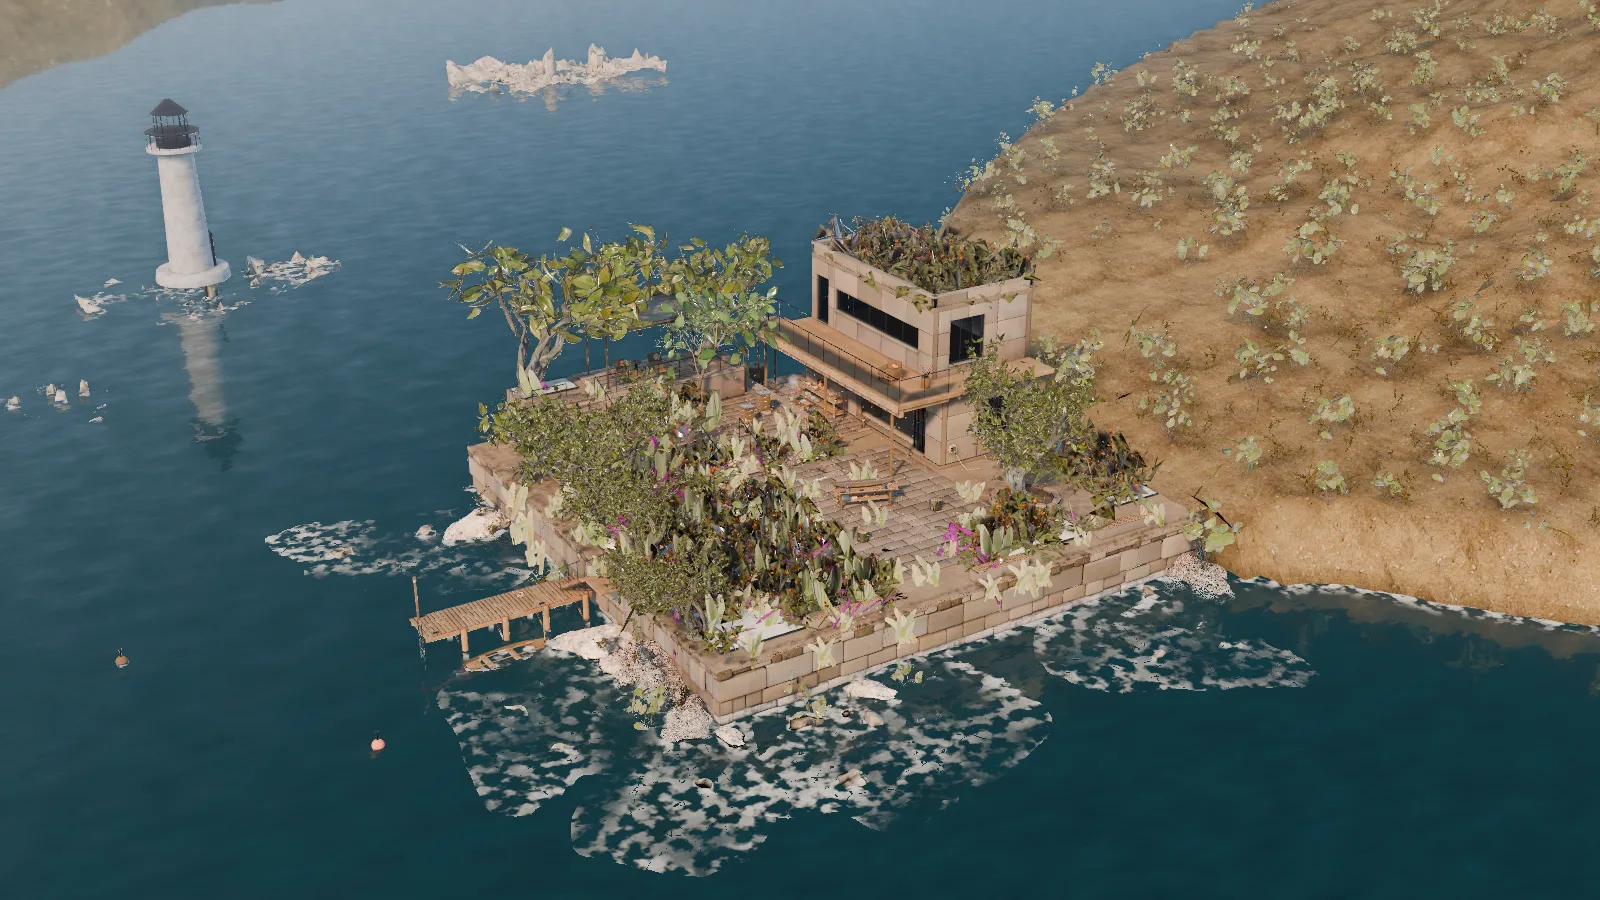
Then I built the whole scene and ran the judges four times, fixing what they listed after each run. Run 1 had black shrubs across the headland, because the scanned leaves pointed at colour maps with no transparency. Two dark discs on the paving were the shadows of stool seats floating at knee height. By run 4 the realism median was 4.5 by day and 4.0 at night, against a bar of 6, and none of the 24 frames passed for a photo. The lighting averages are closer, at 5.3 and 5.8, and still fail. Much of what's left is the objects themselves, like the library's tube sofa and blob chair.
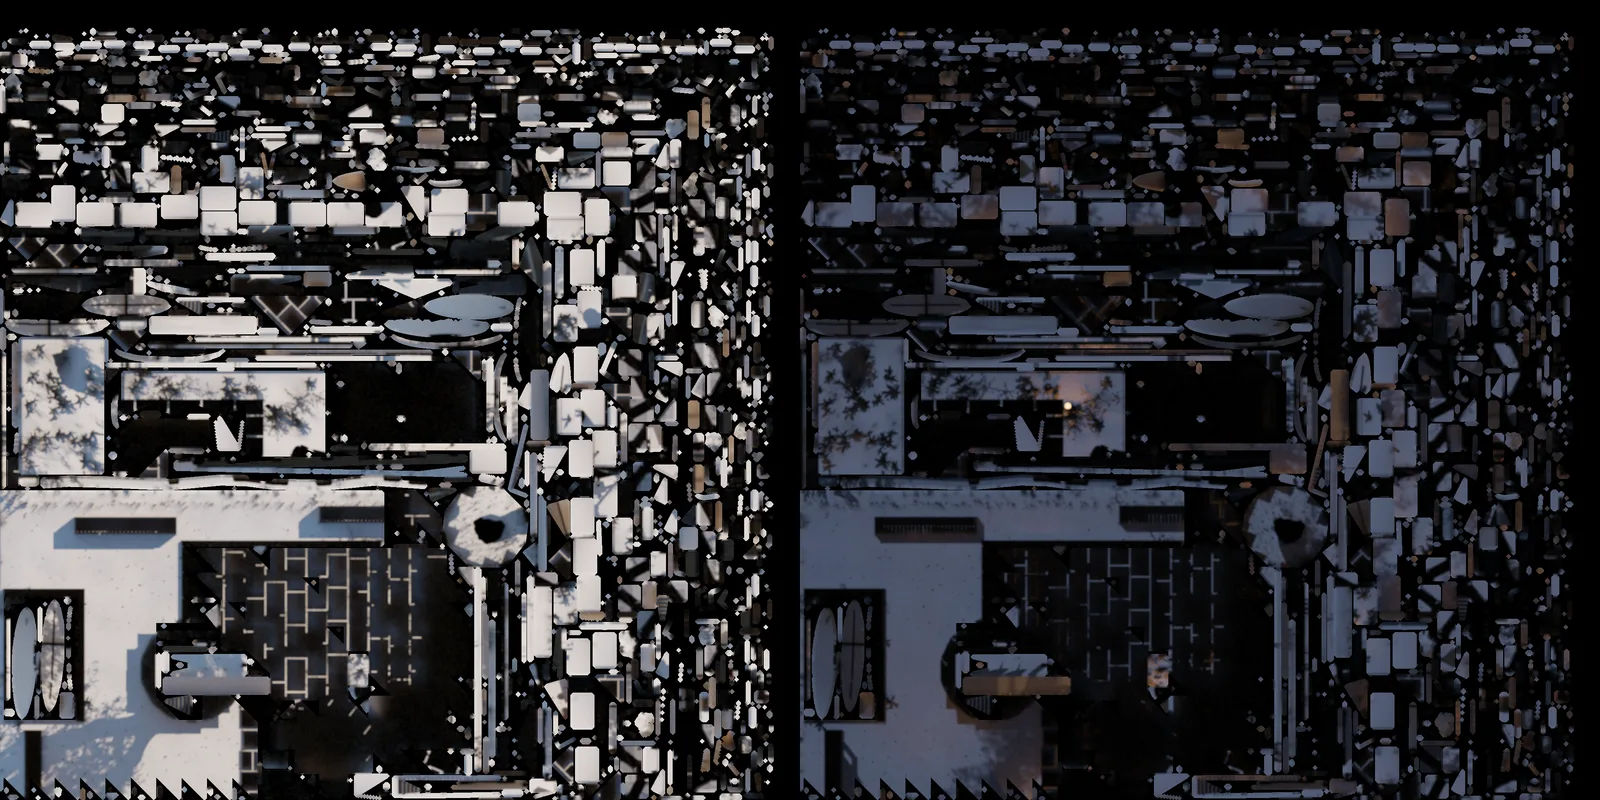
For the browser, the light is baked in Blender into textures called lightmaps. The first ones came out almost black, with under 1% of each texture holding light, because my hand-written packer couldn't fit tens of thousands of loose triangles. xatlas, the unwrapper game engines use, filled about three quarters on the first try. Before packing, the bake drops the faces nobody can see, buried under paving or sealed inside walls, about 660,000 of 1.65 million.
The night picked the encoding. In its darkest shadows, 8-bit RGBM's steps reached ten times the light itself, and a step over about 4% shows as banding. Half float's steps are 0.1%, so the lightmaps ship in half float. At 2K, 24 of them (twelve atlases, day and night) would be 55 MB, near the budget for the whole world, so they ship at 1K, about 0.6 MB each.
The painting
The toon world
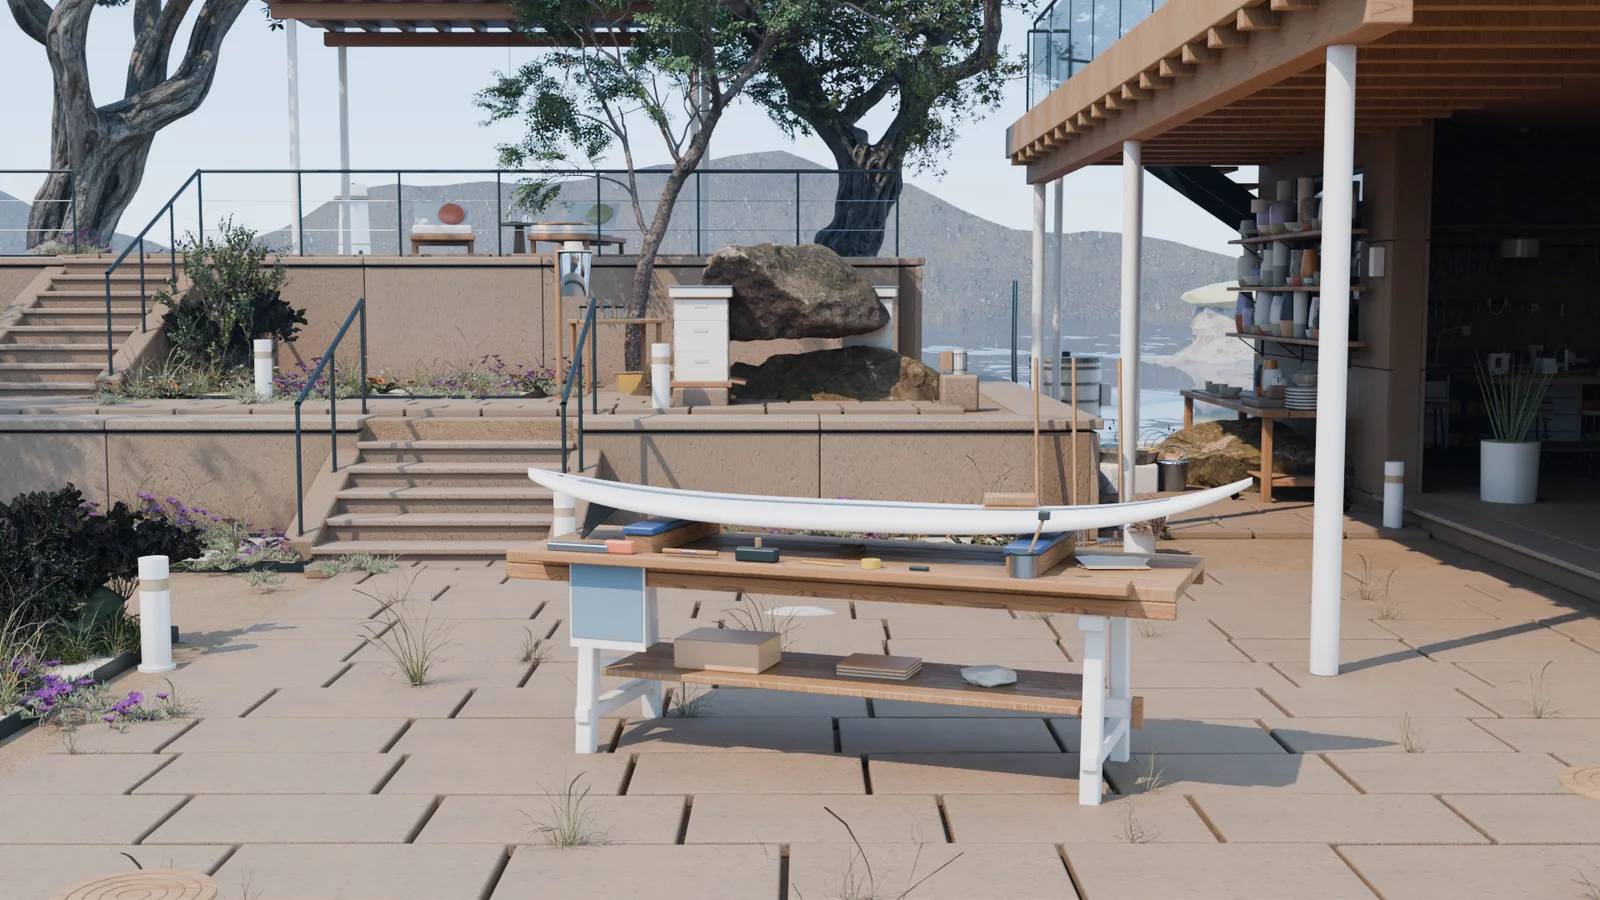
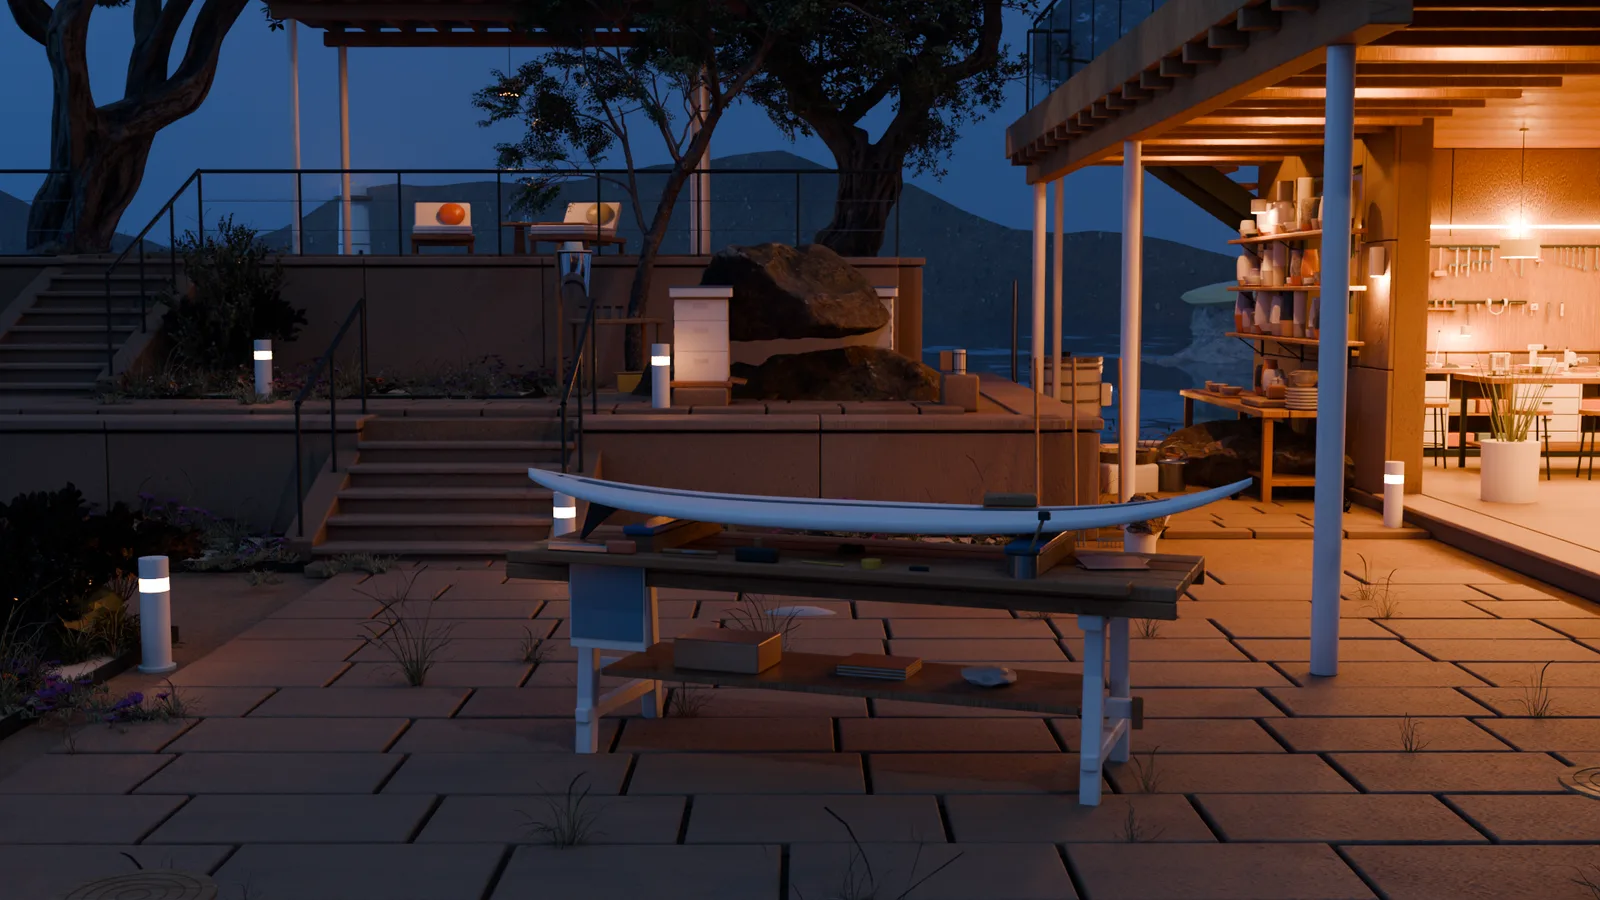
Cycles look test
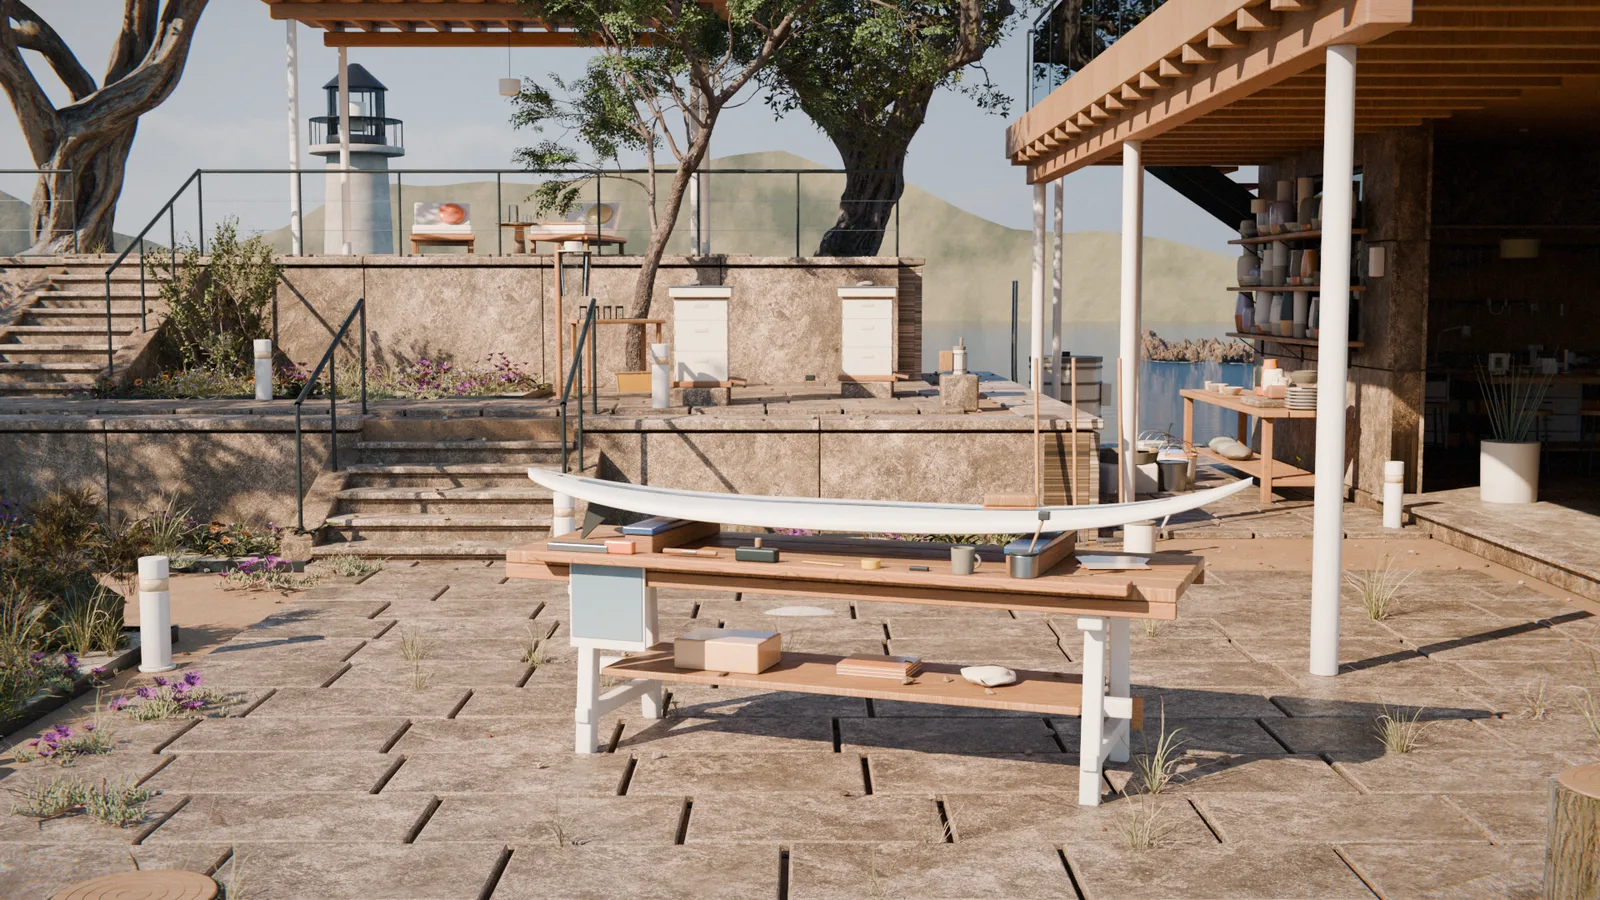
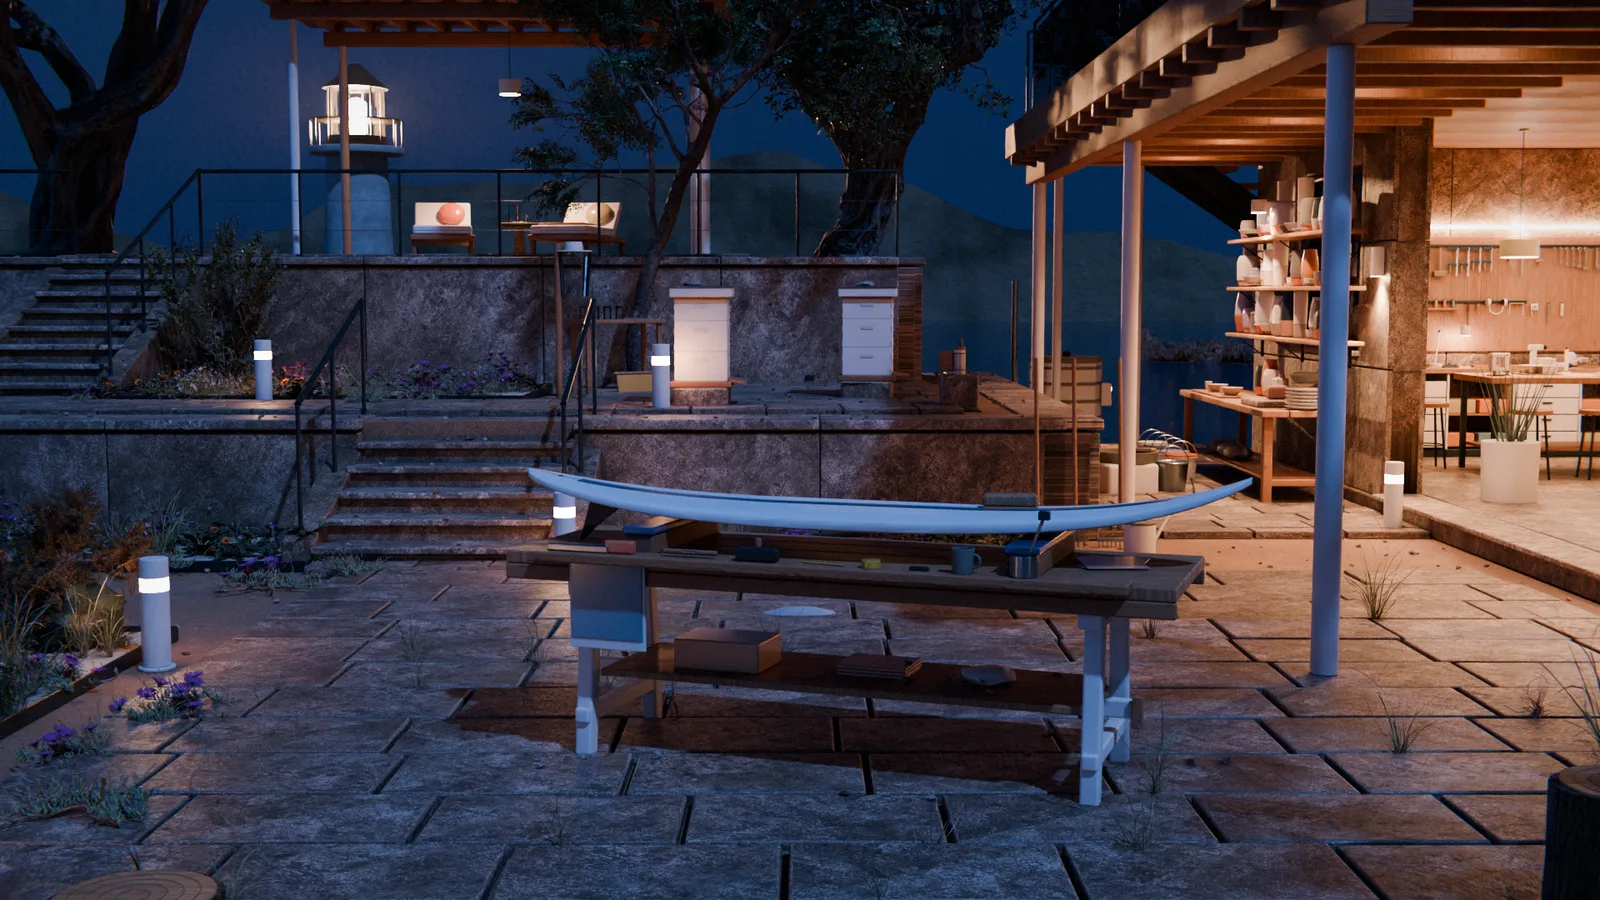
Cycles, run 4
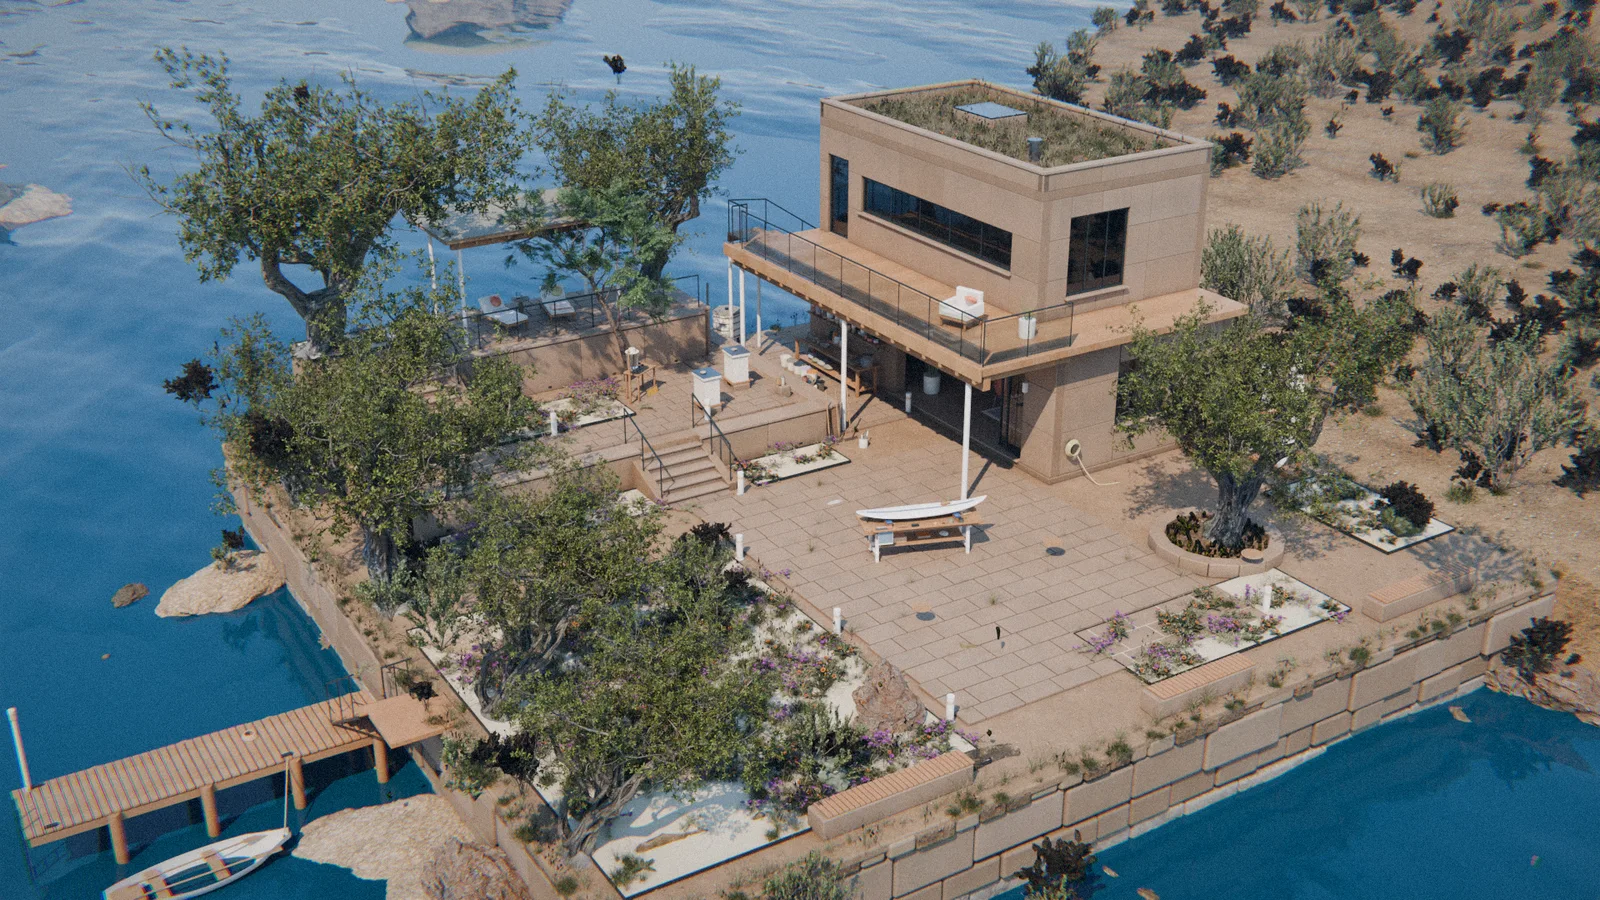
Run 1 · Black leaf cards on the hill and floating shrubs
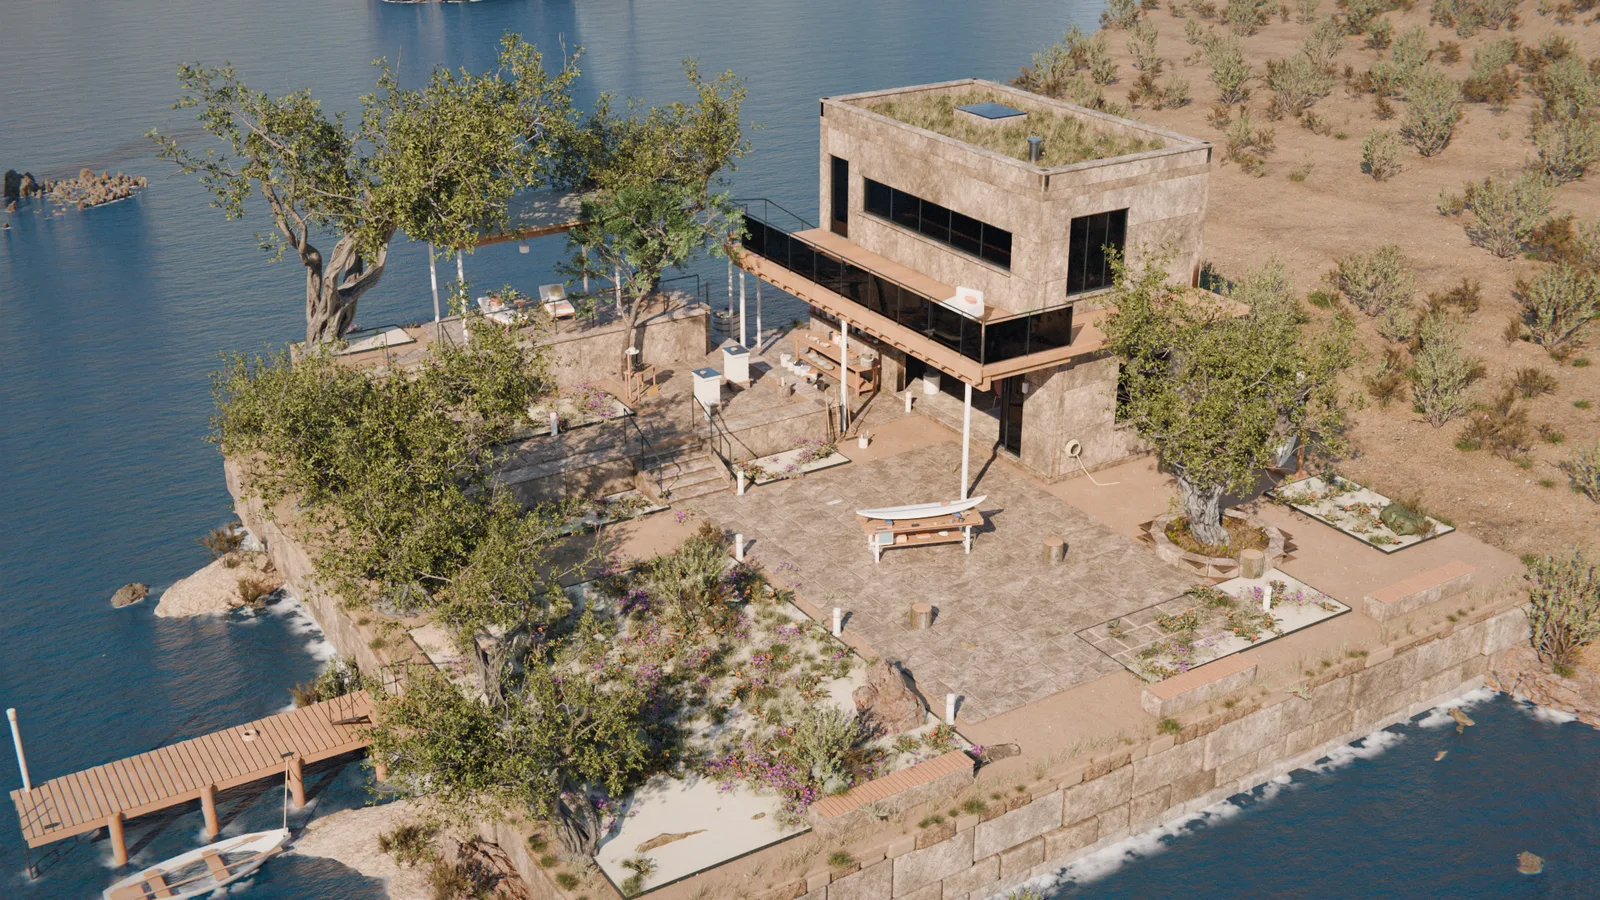
Run 4 · Leaves cut out, shrubs on the ground, foam at the wall
| Run | Realism, day / night | Called a photo | Lighting, day / night |
|---|---|---|---|
| 1 | 3.5 / 4.0 | 0 of 24 | 4.0 / 4.8 |
| 2 | 3.5 / 3.0 | 0 of 24 | 5.2 / 5.2 |
| 3 | 4.0 / 3.5 | 0 of 24 | 4.6 / 5.7 |
| 4 | 4.5 / 4.0 | 0 of 24 | 5.3 / 5.8 |
Scores out of 10. The bar to pass is 6.
Step 15
Next, video inside the parallax
My next step is to bring the video work into the parallax, with looping video on different planes so each scene has more life and depth.